

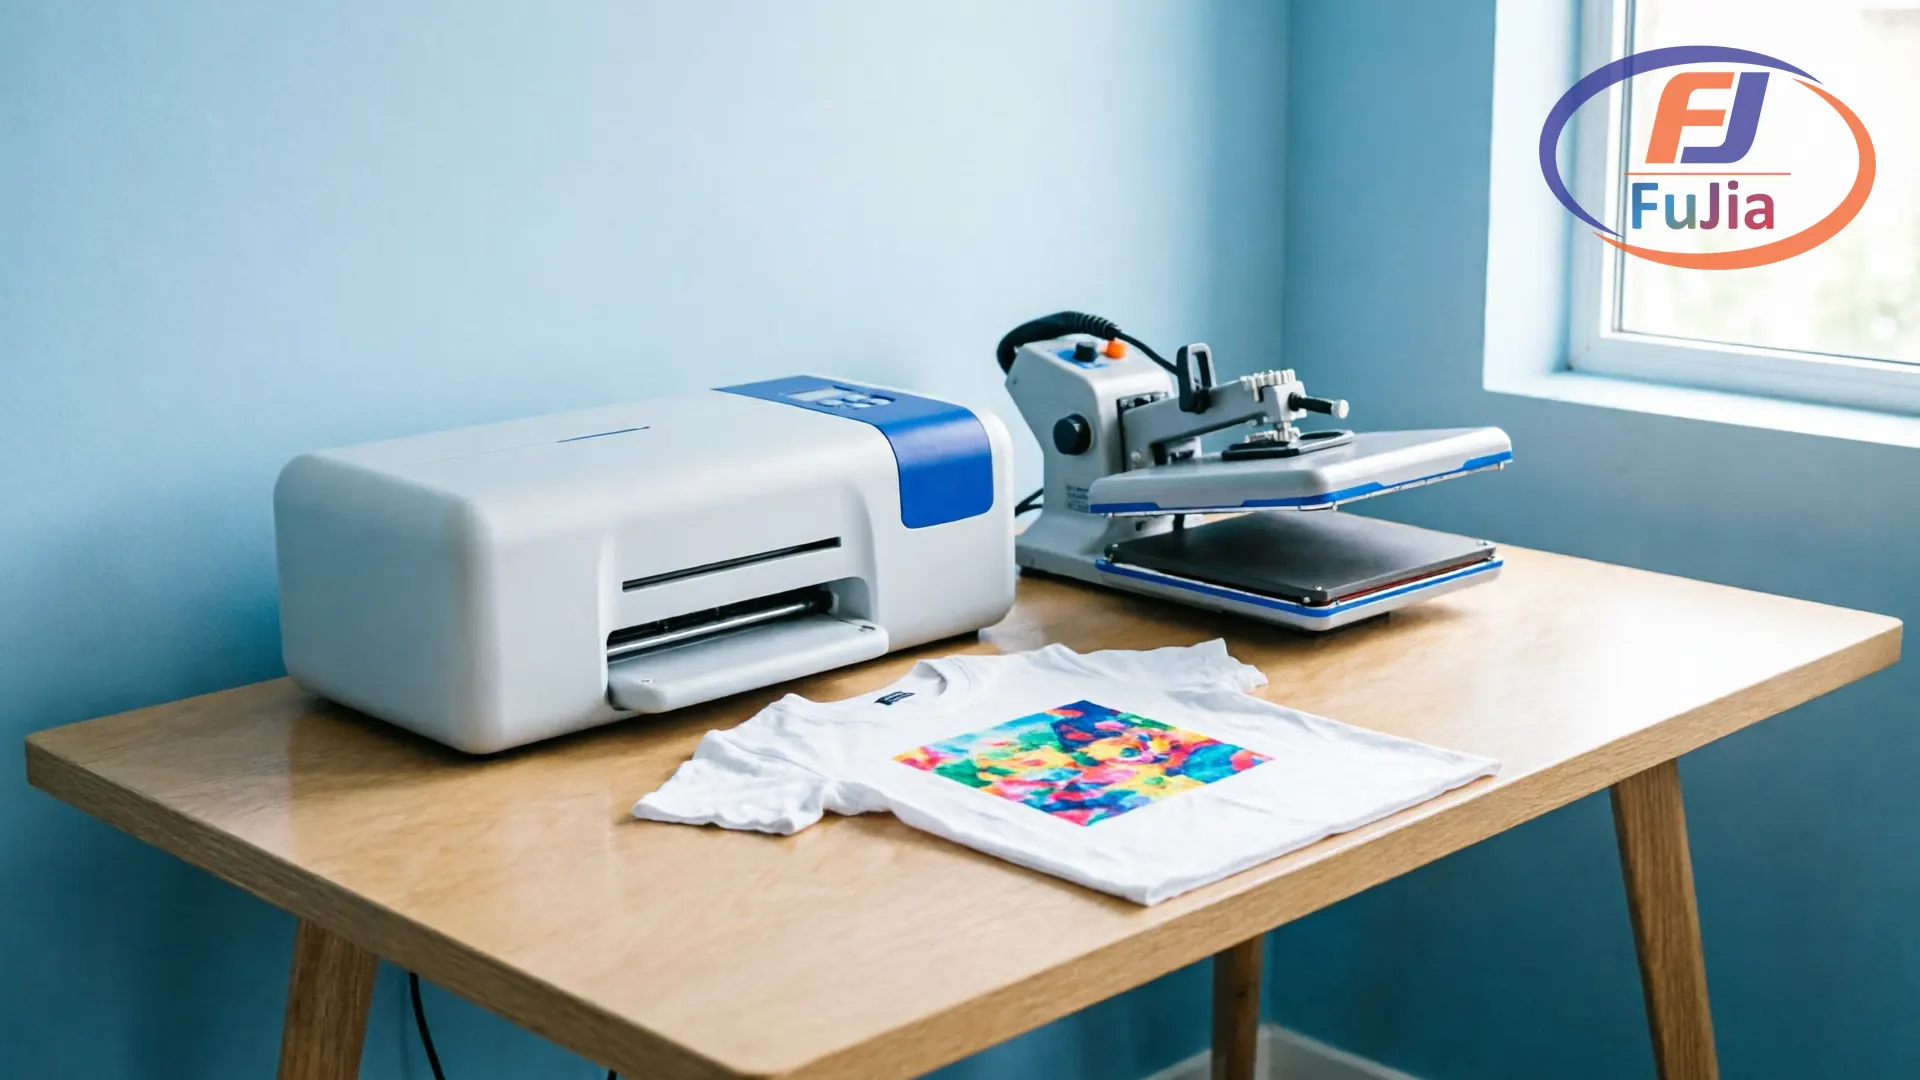
If you are looking for a DTF printer for beginners to start a custom T-shirt printing business, DTF (Direct-to-Film) is the most beginner-friendly option available in 2026 — no pre-treatment, no expensive screens, and one machine prints on cotton, polyester, blends, and dark fabrics equally. For under $5,000 you can get a complete starter setup that a novice can learn in under a week.
Key Takeaways
- DTF printing is the most accessible digital textile decoration method for beginners — lower startup cost, fewer chemicals, and easier learning curve than screen printing or DTG.
- A complete beginner DTF printer setup starts at $3,000–$5,000 including printer, powder shaker, heat press, and consumables.
- The global DTF printing market was valued at $2.85 billion in 2025 and is projected to reach $4.46 billion by 2032 (CAGR 6.57%).
- Entry-level DTF printers use Epson L1800 or XP600 printheads, print on A3 or A4 size, and produce 80–150 transfers per day.
- Three things every beginner must budget for: printer hardware, consumables (ink, film, powder), and a heat press — in that order.
What Is a DTF Printer and Why Is It Good for Beginners?
A DTF printer is a digital inkjet machine that prints designs onto a special PET transfer film, which is then coated with adhesive powder, cured, and heat-pressed onto fabric. Unlike Direct-to-Garment (DTG) printing, DTF does not require fabric pre-treatment. Unlike screen printing, DTF requires no screens, no emulsion, and no separate colors — any full-color design prints in a single pass.
For beginners, DTF’s advantage is simplicity. You print the design, apply powder, shake off excess, cure the powder in an oven or dryer, and press it onto the garment. The process is the same for every fabric type — cotton, polyester, nylon, blends — so you do not need to change settings or chemicals between jobs.
Wikipedia’s DTF printing overview explains that the process “involves printing a design onto a special film using a standard inkjet printer, then transferring the design onto fabric using a heat press.” The global market data from Grand View Research shows the industry growing at over 6% annually, driven largely by small business adoption.
How Much Does a Beginner DTF Printer Setup Cost?

Total startup cost for DTF printing breaks into three categories.
| Component | Budget Tier ($) | Mid-Range ($) | What to Look For |
|---|---|---|---|
| DTF Printer (A3/A4) | 1,500–3,000 | 3,000–5,500 | Epson L1800 or XP600 printhead, CMYK+W |
| Powder Shaker | 300–800 | 800–1,500 | Automatic shaking, adjustable speed |
| Heat Press | 200–600 | 600–1,500 | 15″x15″ minimum, digital temp control |
| Curing Oven / Dryer | 300–800 | 800–2,000 | For powder curing; can use heat press as starter |
| Initial Consumables | 200–500 | 500–1,000 | Ink, film, powder, maintenance kit |
| Total | $2,500–$5,700 | $5,700–$11,500 |
For a detailed breakdown of ongoing operational costs, see our DTF printing startup cost guide. The good news is that consumable costs have dropped significantly since 2023 — DTF ink now runs $15–$25 per liter for quality options from factory-direct suppliers.
Entry-Level DTF Printer Comparison: Key Specifications
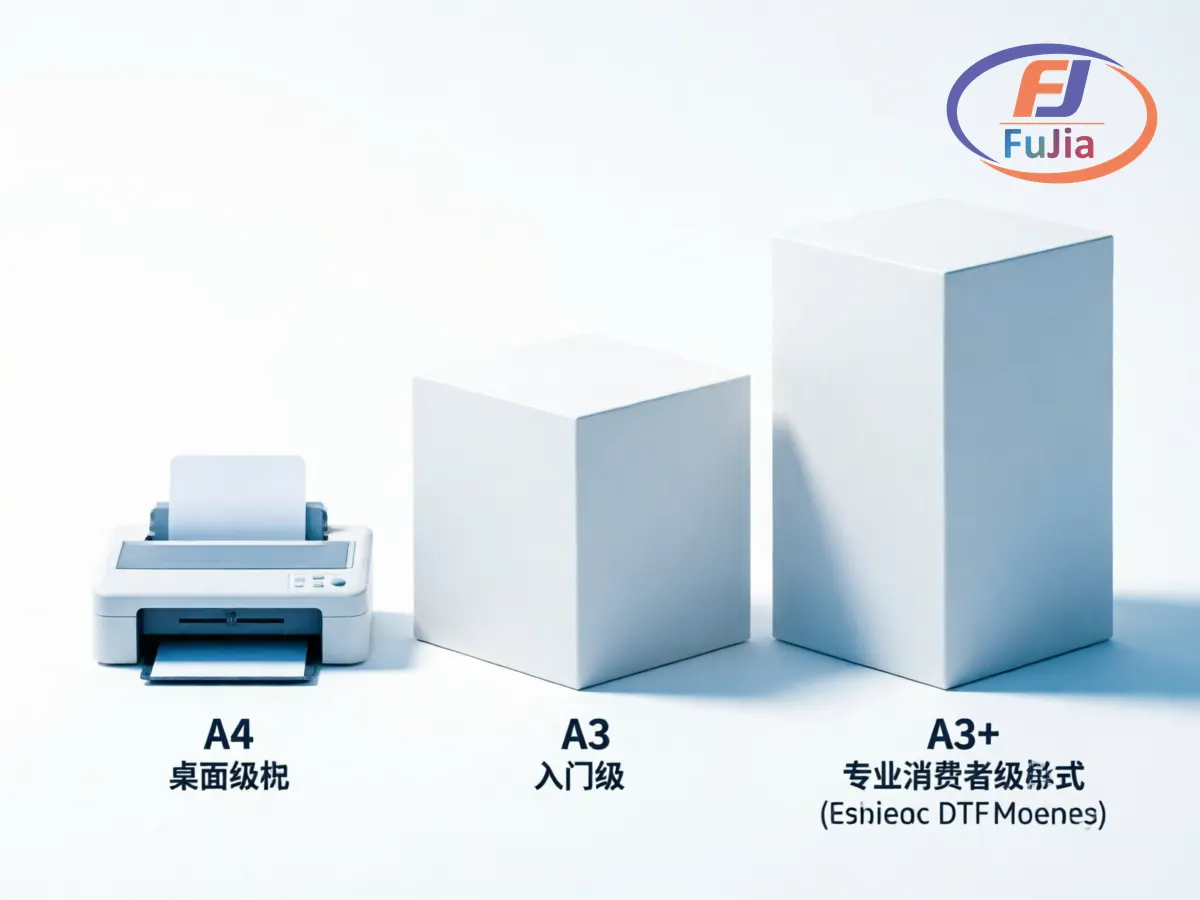
The most important factor in choosing a beginner DTF printer is matching the machine size and printhead to your expected production volume.
| Spec | A4 Desktop DTF | A3 Entry DTF | A3+ Prosumer DTF |
|---|---|---|---|
| Print Size | 8.5″x11″ | 11″x17″ | 13″x19″ |
| Max Daily Output | 50–80 transfers | 80–150 transfers | 150–250 transfers |
| Printhead | Epson L1800 | Epson XP600 | Epson I3200 (or 2× XP600) |
| Resolution | 5760×1440 dpi | 5760×1440 dpi | 5760×1440 dpi |
| Ink Config | CMYK+W | CMYK+W | CMYK+W+W |
| White Ink Circulation | Manual shake | Automatic pump | Automatic circulation |
| Price (printer only) | $1,500–$2,500 | $2,500–$4,000 | $4,000–$6,000 |
| Best For | Hobbyist, try first | Most beginners 🔥 | Growing small business |
Our recommendation for beginners: An A3 single-head DTF printer (like Fujia’s P9 model) with XP600 printhead offers the best balance — large enough for T-shirts, simple enough for first-time users, and priced at the entry level of the mid-range. Compare options in our A3 DTF printer buying guide. For budget-conscious beginners, start with our cheap DTF printer guide.
Step-by-Step: How to Start DTF Printing as a Beginner
Here is the actual workflow from unboxing to your first finished T-shirt.
Step 1: Set Up Your DTF Printer
Unbox the printer, install the printheads (pre-installed on most factory-direct models), connect the ink supply lines, and run the initial cleaning cycle. Most entry-level DTF printers come partially assembled — expect 30–60 minutes for setup including filling ink lines and performing the first nozzle check.
Step 2: Install Software and Create Your First Design
Use Adobe Illustrator, CorelDRAW, or free alternatives like Inkscape to create your design. Most DTF workflows use RIP software (like AcroRIP or Maintop) to handle color separation and white ink layer management. The white layer prints as a base under the color image — this is what makes DTF work on dark fabrics.
Step 3: Print Your Design
Load the DTF film (matte side up for most brands) and print. Your RIP software will automatically send the white layer first, then the color layers. Since DTF uses CMYK+White ink, a full-color image takes two passes on single-head machines — white underbase first, then CMYK on top.
Step 4: Apply Adhesive Powder
While the ink is still wet, cover the printed film with hot-melt adhesive powder. Shake off the excess — a powder shaker machine saves significant labor here. The powder sticks only to the wet ink areas, leaving the film clear where there is no design.
Step 5: Cure the Powder
Pass the powdered film through a curing oven or use a heat press at 140°C–160°C (284°F–320°F) for 30–60 seconds. The powder melts and becomes a transparent adhesive layer. The design now looks like a sticker on the film.
Step 6: Heat Press onto Garment
Place the cured film on the garment, design-side down. Press at 160°C–180°C (320°F–356°F) for 15–20 seconds with medium pressure. Peel the film while hot (hot peel) or after cooling (cold peel) depending on your film type. Hot-peel films are faster for production; cold-peel films give slightly sharper detail.
Step 7: Finish and Quality Check
Your transfer is complete. The print should feel soft on the fabric, with no raised edges. Wash test a sample — quality DTF transfers withstand 50+ industrial washes with proper settings.
For help dialing in your settings, read our DTF printer settings guide and heat press settings guide.
Common Mistakes Beginners Make (and How to Avoid Them)
Buying too large or too fast. Many beginners start with a dual-head or industrial machine thinking they will grow into it. Start with a single-head A3 — if you outgrow it in 6 months, you can keep it as a backup.
Skipping white ink maintenance. White pigment ink settles and clogs printheads faster than CMYK. Run a cleaning cycle every 48 hours even if you are not printing. This alone is the difference between a printer that lasts and one that needs constant repair. Our DTF printer maintenance guide covers the full maintenance schedule.
Using cheap consumables to save money. Low-quality film delaminates during washing. Cheap powder does not melt evenly. Off-brand ink can chemically react with your printheads. Stick to consumables from your printer manufacturer or tested third-party suppliers.
Inconsistent heat press pressure. If your transfers peel after washing, the most common cause is insufficient heat press pressure, not low temperature. Use medium to firm pressure and test a sample before production.
What Consumables Do You Need as a Beginner?

You need four consumables to start DTF printing. Buy them as a bundle from your printer supplier — single-sourcing ensures compatibility and saves on shipping.
| Consumable | Consumption per A3 Sheet | Monthly Cost (500 prints) | Sourcing Tip |
|---|---|---|---|
| DTF Transfer Film | 1 sheet | $80–$120 | Buy rolls, save 30% vs sheets |
| DTF CMYK + White Ink | ~3 ml per print | $200–$350 | Printer brand or compatible quality ink |
| Hot-Melt Adhesive Powder | ~5 g per print | $100–$150 | 80–170 micron, anti-sublimation grade |
| Maintenance Kit | 1 per 3 months | $15–$25 | Cleaning fluid, capping station, wiper |
For bulk pricing and OEM options, see our DTF ink buying guide and DTF consumables wholesale guide.
How to Choose the Right DTF Printer for Your Beginner Budget
Three decision paths based on your budget:
Budget $2,500–$4,000 (A4 Desktop). Start with an A4 desktop DTF printer. Good for testing the market, producing 50–80 transfers daily. Works well for hobbyists and part-time sellers on Etsy or Amazon Handmade. Limitation: max print size restricts you to pocket prints, small logos, and kids’ apparel.
Budget $4,000–$6,000 (A3 Entry). This is the sweet spot for most beginners. An A3 printer handles full T-shirt front designs (up to 11″x17″). With 80–150 daily output, you can fulfill small wholesale orders. Single-head XP600 machines at this price point are reliable and easy to maintain.
Budget $6,000+ (A3+ Prosumer). If you have the capital and are starting full-time, a dual-head or I3200 A3+ machine offers faster production and better white ink reliability. Most beginners at this level recoup their investment within 3–6 months.
For a complete side-by-side comparison of printer types, read our DTF vs UV vs DTG vs Eco-Solvent comparison.
Frequently Asked Questions
Q: Do I need experience to use a DTF printer?
A: No, DTF printing is designed to be accessible to complete beginners with no prior printing experience. The learning curve is significantly shorter than screen printing (which requires emulsion, exposure units, and multi-color registration) or DTG (which requires fabric pre-treatment). Most first-time users can produce a sellable transfer within their first week of receiving the machine. The key skills to learn are: understanding RIP software for color separation (most entry-level printers include a basic RIP license), managing white ink maintenance (running cleaning cycles every 48 hours), and dialing in heat press temperature and pressure for different fabric types. Many suppliers provide video training and setup support — factory-direct manufacturers like Fujia Print include one-on-one onboarding sessions. If you can operate a standard desktop inkjet printer and follow step-by-step instructions, you can learn DTF printing within a matter of days.
Q: How much can I earn with a beginner DTF printer?
A: A beginner with an A3 DTF printer producing 100 transfers per day can generate $1,000–$2,500 in monthly revenue working part-time on evenings and weekends, assuming an average selling price of $8–$15 per custom transfer after material costs of roughly $2–$3 per print. Full-time operators with a steady order pipeline can reach $5,000–$10,000 monthly within 3–6 months by serving local businesses, sports teams, and events like school fundraisers and corporate team events. Profit margins on DTF transfers range from 55% to 70% on materials alone, with the remaining overhead covering labor, equipment amortization, and marketing costs. The key variable is sales channel — Etsy sellers typically earn less per item due to higher platform fees and competitive pricing, compared to direct B2B sellers who supply local print shops or clothing brands with bulk orders at better margins.
Q: What is the difference between a beginner DTF printer and a professional DTF printer?
A: The main differences are printhead count, ink circulation system, and production speed. Beginner DTF printers typically use a single Epson L1800 or XP600 printhead, manual or semi-automatic white ink circulation, and produce 50–150 transfers per day. Professional DTF printers use dual or quad printheads (Epson I3200 or industrial Ricoh/Kyocera heads), fully automatic white ink circulation with continuous agitation, and produce 300–1,000+ transfers per day. Beginner machines use standard RIP software with preset profiles; professional machines often include advanced color management and production tracking for consistency across large runs. The print quality is comparable between both tiers at standard resolution — the real difference is throughput, reliability under continuous 8-hour operation, and total cost per transfer at scale. For most beginners starting their first business, a single-head A3 machine provides professional-grade results at an entry-level price point under $5,000, which is more than adequate for the first year of operation.
Q: How long does it take to learn DTF printing?
A: Most beginners can produce their first successful transfer within 2–5 days of receiving their DTF printer. The initial learning curve covers machine setup, basic design preparation in RIP software, and the first few test prints on different fabric types like cotton and polyester. Achieving consistent, production-ready quality typically takes 2–4 weeks of regular practice. The fastest path to mastery is to print 20–30 test designs on various fabric types using different temperature and pressure settings while documenting the results. Online resources like the DTF printing FAQ on Printful provide troubleshooting guides for common beginner issues like powder adhesion, inconsistent peeling, and color matching across different fabric colors. After approximately 100 successful transfers, most beginners feel confident taking paid orders from customers and expanding their product range beyond basic T-shirts to hoodies, tote bags, and hats.
Conclusion
DTF printing is the most accessible entry point into custom apparel decoration in 2026. With a complete setup starting under $4,000 and a learning window of just days, beginners can start producing professional-quality transfers from a home workshop or small garage. The market is growing at over 6% annually, driven by demand for on-demand, short-run customization.
For factory-direct pricing on beginner DTF printer bundles including printer, powder shaker, heat press, and starter consumables, contact Fujia Print.
