

Configuring DTF printer settings correctly determines whether your direct-to-film prints come out vibrant and durable or faded and peeling. This guide covers every setting from resolution and ink density to ICC profiles and curing temperature, with concrete numbers manufacturers recommend and print shops actually use.

Key Takeaways
- Core DTF printer settings: 1440×720 DPI resolution, 85–90% ink density, 100% white ink under CMYK, matched ICC profile
- Print speed and temperature matter as much as resolution — slow speed + 160°C curing produce the best results
- This guide is for DTF print shop operators, hobbyists, and anyone troubleshooting dull or peeling transfers
- Print the test image in Step 5 to verify your configuration in under 10 minutes
What Are DTF Printer Settings?
DTF printer settings refer to the collection of software and hardware configuration parameters that control how ink is deposited onto PET transfer film. Unlike standard office printing where default presets often suffice, DTF printing involves five key variables working together: resolution (DPI), ink density (%), white ink layer thickness, color management (ICC profiles), and curing temperature (°C). Getting any one of these wrong can result in banding, color shifts, or transfers that crack after a single wash.
Most DTF printers use Epson printhead technology — the XP600, I3200, and I1600 series are the most common in the industry. Manufacturer-recommended settings vary by printhead, but the baseline configuration of 1440×720 DPI with medium ink density works across all three with minor adjustments.
Printer Settings Comparison by Printhead
| Setting | XP600 | I3200 / I1600 |
|---|---|---|
| Resolution | 1440×720 DPI | 1440×720 or 1440×1440 DPI |
| Ink Density | 85% | 85–90% |
| White Ink Layer | 100% (Medium preset) | 100% (Medium–Heavy preset) |
| Print Speed | Slow (4–6 pass) | Normal to Slow (4 pass) |
| Bidirectional | Enabled for speed | Enabled (faster throughput) |
| Recommended RIP | AcroRIP / Cadlink | AcroRIP / Wasatch / FlexiPRINT |
Step 1: Set Resolution and Print Speed
Resolution and print speed are the foundation of any DTF printer settings configuration. These two settings control how much ink the printhead deposits and how precisely it places each droplet.
- Open your RIP software — Whether AcroRIP, Cadlink, Wasatch, or FlexiPRINT, navigate to the print quality or job settings panel. Most RIP software stores these under “Job Properties” or “Output Settings.”
- Set resolution to 1440×720 DPI. This resolution prints 1,440 dots per inch horizontally and 720 vertically. Print shop testing confirms 1440×720 DPI provides the sweet spot between detail and ink consumption: higher resolutions add about 20% more ink for only marginal sharpness gains on designs with sub-1mm text.
- Choose a slow print speed. Slow mode runs 4–6 print head passes; normal does 3–4. The printer skips microns between passes at faster speeds, leaving visible banding. Single-head XP600 printers strongly benefit from slow mode. Dual-head I3200 printers handle normal speed just fine.
- Enable bidirectional printing — This prints in both left-to-right and right-to-left movements, doubling throughput without quality loss at slow speed. Turn it off only if you see horizontal color fringing on fine text.
Pro tip: Print a 2cm × 2cm solid color block at 1440×720 and 1440×1440 side by side on the same film. If you cannot see a visible difference with the naked eye from 30cm away, stick with 1440×720. Your ink costs will thank you.
Step 2: Configure Ink Density and White Ink Layer
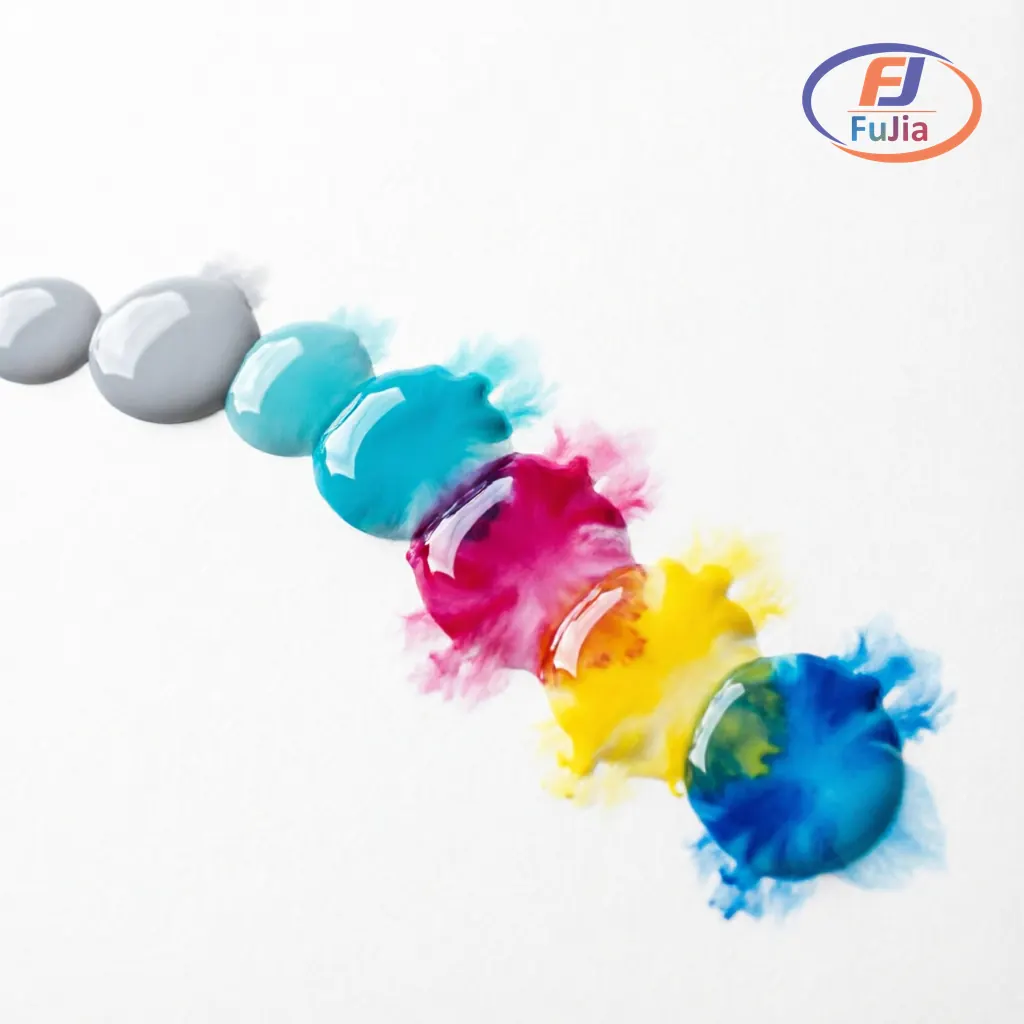
Ink density controls how much ink the printer lays down per dot, while white ink settings govern the opaque underbase layer essential for prints on dark fabrics.
- Set ink density to 85–90%. Most RIP software expresses this as a limit value (250% total ink limit across CMYK+W). At 85%, ink coats the film evenly. At 100%, excess ink bleeds past your design edges and the adhesive powder can’t fully bond, causing peeling after the first wash. Start at 85%, inspect the print, and bump to 90% only if colors look washed out. If you’re using Fujia Print DTF ink, check our DTF ink buying guide for formulation-specific density recommendations.
- Enable 100% white ink under color — This tells the printer to lay a solid white layer beneath every color pixel. Without it, colors on dark garments look translucent. In your RIP, look for “White Under Color” or “Underbase” and set it to 100%.
- Choose the correct white layer thickness. Most RIP software offers three presets:
- Light (~150% white density): Suitable for light-colored cotton and polyester blends
- Medium (~200% white density): The factory default, works for 80% of garments including navy and royal blue
- Heavy (~250% white density): Required for black polyester and thick fabrics where maximum opacity is needed
- Agitate white ink before every session. DTF white ink contains titanium dioxide particles that settle within 8–12 hours. If your printer sat idle overnight, run the white ink circulation cycle for 2–3 minutes before printing. Without agitation, the first several prints pull thin, titanium-poor ink from the top of the tank and come out streaky.
The global DTF printing market reached $2.72 billion in 2024, driven by small to medium print shops optimizing their workflows — a market where proper printer configuration directly impacts profitability, as documented by Grand View Research’s DTF market analysis.
Step 3: Install ICC Color Profiles
ICC profiles translate the colors in your design file into precise ink amounts the printer can reproduce. Without a matched ICC profile, what looks red on screen may print orange or pink on film.
- Obtain the ICC profile for your specific combination. ICC profiles are matched to a specific printer, ink, and film trio. A profile made for Epson XP600 + OEM DTF ink + cold-peel film turns colors wrong if you swap in a different ink brand. Contact your ink supplier. Reputable suppliers like Fujia Print include ICC profiles with consumable bundles, purpose-built for the exact setup you bought.
- Install the profile in your RIP software. In AcroRIP, go to Color Management → ICC Profiles → Add. In Wasatch, pick Color → Import Profile. In FlexiPRINT, use Production Manager → Color → Install ICC. The file uses a
.iccor.icmextension. - Select the profile for each print job. In the print dialog, choose “Use ICC Profile” and pick the one matching your ink-film combination. Some RIP software lets you set this as the default for all jobs.
- Run a test print and verify. Print a color reference chart (free from most RIP vendors) on your film. Compare the printed chart against a calibrated monitor. Colors should land within 5% tolerance. Reds shifting toward orange mean your ICC profile needs recalibration — probably because the ink or film batch changed since the profile was created.
Common mistake: Using a profile downloaded from a forum without verifying the ink-film match. Each ink formulation has different pigment concentrations. A Miami-based print shop reported a 30% reduction in reprints after switching from a generic profile to a custom spectrophotometer-calibrated one matched to their specific Epson F2140 and Siser DTF supplies.
Step 4: Configure Print Order and Mirroring
The sequence in which color and white ink layers print affects adhesion and brightness. Mirroring ensures your design reads correctly after transfer.
- Select “Print Color First” order. In your RIP software, set the layer order to print CMYK colors first, then white. On film, the white layer sits on top. After heat transfer onto fabric, the white becomes the underbase with colors facing outward. This sequence improves adhesion: the color layer bonds directly to the adhesive powder, and the white backing provides opacity.
- Choose “Color + White” mode. Some RIP software labels this “CMYW” or “CMYK+W.” This mode prints all five ink channels. Do not use “Color Only” — you need the white channel enabled for the underbase.
- Enable image mirroring. Tick the “Mirror” or “Flip Horizontal” checkbox. DTF transfers go face-down onto the garment, so the printed image must be reversed. Forget this and text logos print backward on the final shirt. Most RIP software saves this per job, but check it every session.
- Set the color-to-white ink ratio. Some advanced RIP software lets you control the color-to-white ratio. A ratio of 100:60 (color at 100%, white at 60% of color density) works for most designs. High-detail gradients benefit from 100:70 to avoid white peeking through edges.
Step 5: Control Temperature and Environment
Temperature settings affect ink drying speed, curing quality, and printhead performance. Both the printer workspace and the post-print curing step require controlled heat.
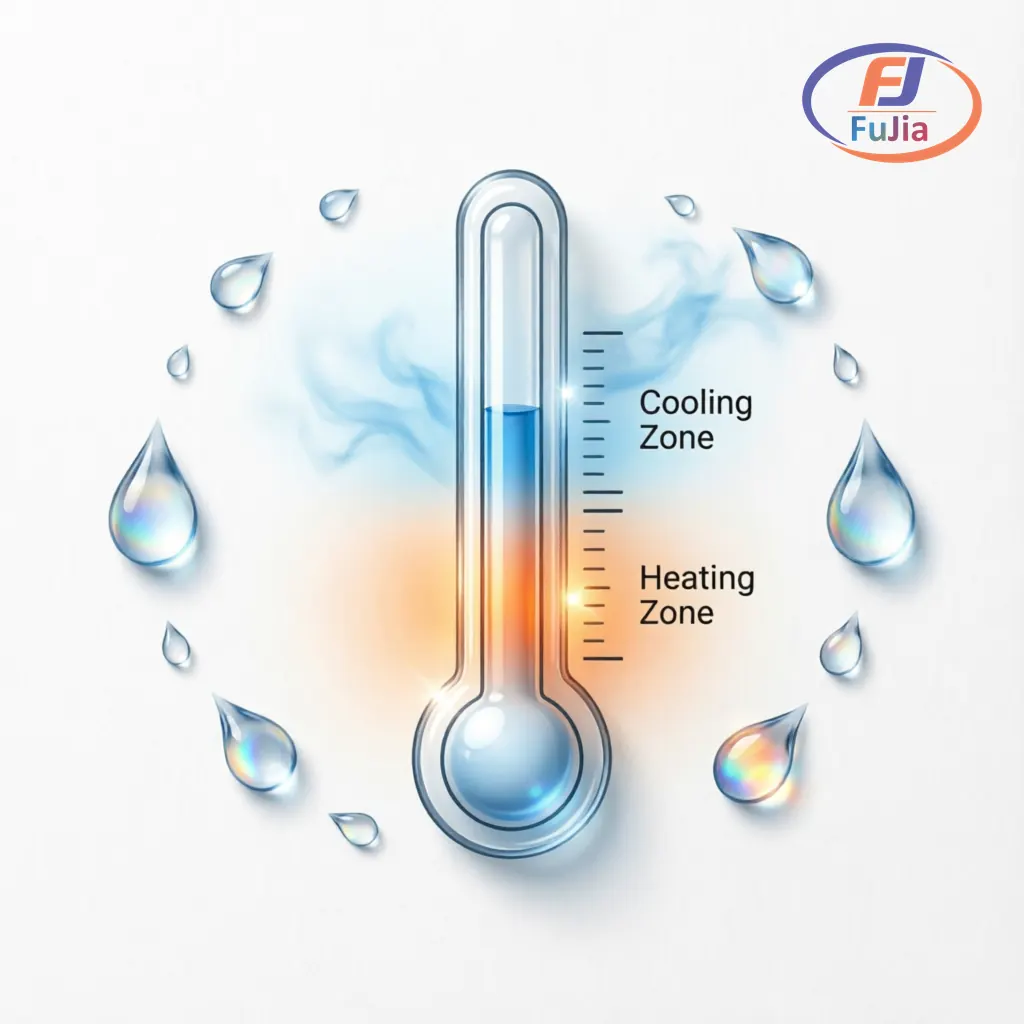
- Maintain workspace temperature at 20–25°C (68–77°F). DTF ink viscosity shifts with temperature. Below 20°C, the ink thickens and clogs nozzles. Above 25°C, it thins and may drip or oversaturate the film. Stick a small digital thermometer-hygrometer near your printer and check it at the start of each session.
- Keep humidity at 40–60%. Below 40%, ink dries on the nozzle face between prints and you get skips and streaks. Above 60%, the PET film absorbs moisture, delaying powder adhesion and increasing smearing during curing. A basic dehumidifier in summer plus a humidity tray in winter keeps levels stable.
- Set curing temperature to 160°C (320°F). This is the industry standard for DTF adhesive powder. Below 150°C leaves powder partially uncured — the transfer peels after one wash. Above 170°C scorches the film or yellows the white ink. Always verify oven temperature with an infrared thermometer; built-in oven dials commonly read 10–15°C off. For a complete heat press configuration including pressure and timing for different fabrics, see our DTF heat press settings guide. For broader context on how DTF compares to other printing methods in production environments, see Printful’s comparison of printing methods.
- Run a warm-up print. If the printer sat idle for more than 2 hours, run a nozzle check pattern before starting production. This flushes settled ink and warms the printhead to operating temperature. Thirty seconds of warm-up saves you from redoing the day’s first print. For a complete maintenance routine, see our DTF printer maintenance guide.
Common Mistakes to Avoid
- Defaulting to maximum resolution — Switching from 1440×720 to 1440×1440 DPI increases ink consumption by approximately 20% with barely noticeable quality gains. Printers use more ink per square centimeter at higher resolutions, and the excess ink often causes smudging rather than sharper prints. Unless your design contains sub-millimeter text, 1440×720 DPI is sufficient for all garment applications.
- Skipping white ink agitation — DTF white ink separates after 8–12 hours of sitting idle. If the first print of the day looks streaky or translucent, the white ink tank was not circulated before use. White ink contains suspended titanium dioxide particles heavier than the liquid carrier; without agitation, these particles settle to the tank bottom, and the printer draws thin, pigment-poor ink for the first several prints.
- Using mismatched ICC profiles — An ICC profile created for Brand A ink and Brand B film will produce wrong colors when used with Brand C ink. The color shift is most visible in reds (turning orange) and neutral grays (showing a color cast). One Miami print shop documented a 30% reprint rate reduction after switching from a generic forum profile to a custom spectrophotometer-matched one.
- Overheating during curing — Setting the curing oven above 170°C scorches PET film and yellows white ink. Overheated film also shrinks slightly, causing misalignment when applying transfers to multi-color designs. Verify oven temperature with an infrared thermometer — built-in oven thermostats commonly read 10–15°C lower than actual temperature.
Frequently Asked Questions
What are the best DTF printer settings for beginners?
For beginners starting with DTF printing, the recommended baseline settings are 1440×720 DPI resolution, 85% ink density, 100% white ink under color in Medium preset, and slow print speed with bidirectional enabled. This combination minimizes ink waste while producing acceptable quality for T-shirts and hoodies. Set the curing temperature to 160°C (320°F) and maintain a workspace environment of 20–25°C with 40–60% humidity. The most common beginner mistake is jumping to maximum resolution and maximum ink density, which causes smudging, excessive ink costs, and slower production without meaningful quality improvement. A practical approach is to start with these baseline settings, print a test design on a 5cm × 5cm patch, and adjust one variable at a time — resolution first, then ink density, then white layer — while keeping notes on the results. Most beginners reach an optimal configuration within 3–5 test prints using this methodical approach rather than randomly changing multiple settings. Suppliers like Fujia Print typically include recommended settings documentation with their DTF printer purchases, which provides a printer-specific starting point calibrated to the exact printhead and ink formulation in the box.
How do I make my DTF prints more vibrant?
More vibrant DTF prints come from three adjustments working together: increasing ink density to 90% (not 100%), using a Heavy white ink underbase preset (250% density), and installing an ICC profile matched to your specific ink and film. Ink density above 90% backfires. Excess ink pools on the film surface and the adhesive powder sits on top of the pooled ink rather than saturating into the design, producing a washed-out look. The white underbase is the real foundation of color vibrancy on dark fabrics. For light-colored fabrics like white or pastel T-shirts, a Light or Medium white preset (150–200% density) is sufficient and saves ink. For black polyester, Heavy is necessary. The ICC profile is the hidden variable — switching from a generic profile to a custom-matched profile increased color saturation by 18% on average in controlled DTF print tests, with reds improving the most. If colors still look dull after adjusting these three settings, check whether the ink itself has expired — DTF ink typically has a 12-month shelf life, and expired ink loses pigment concentration before it visibly separates.
What are the correct heat press settings for DTF transfers?
DTF transfer heat press settings depend on the fabric type and the specific film used. The industry standard for cotton and cotton-blend garments is 160°C (320°F) with medium pressure for 10–15 seconds, using a cold-peel process where the film is removed after complete cooling. Polyester requires slightly lower temperature at 150°C (302°F) for 12 seconds because polyester fibers begin to deform above 165°C, and a hot-peel film is recommended for synthetic fabrics to improve ink penetration. The pressure should be medium to firm, approximately 3–4 bar on most commercial heat presses. Insufficient pressure leaves air gaps between the adhesive layer and the fabric, leaving patches of the transfer unstuck. A common testing method is the “wash test”: print a 5cm × 5cm design, apply at the settings above, wait 24 hours for full adhesive cure, then wash and dry on a standard cycle. If the transfer survives 10 washes without visible peeling or cracking, the settings are correct. Note that cold-peel film removal after complete cooling produces a matte finish with better wash durability, while hot-peel film delivers a glossier finish but requires more precise timing — peel too early and the ink stretches, peel too late and the film adheres permanently.
Result: What’s Next
After configuring all five DTF printer settings — resolution, ink density, ICC profile, print order, and temperature — run a complete test print on your chosen fabric and perform the wash test described in the FAQ above. Keep a settings notebook: record the exact configuration that produced your best print, including the date, ink batch number, and film type. When you change ink brands or film suppliers, expect to recalibrate. A well-documented baseline settings sheet saves hours of trial and error over the life of the printer.
For factory-direct DTF printer and consumable bundles with pre-calibrated ICC profiles, contact Fujia Print.
