

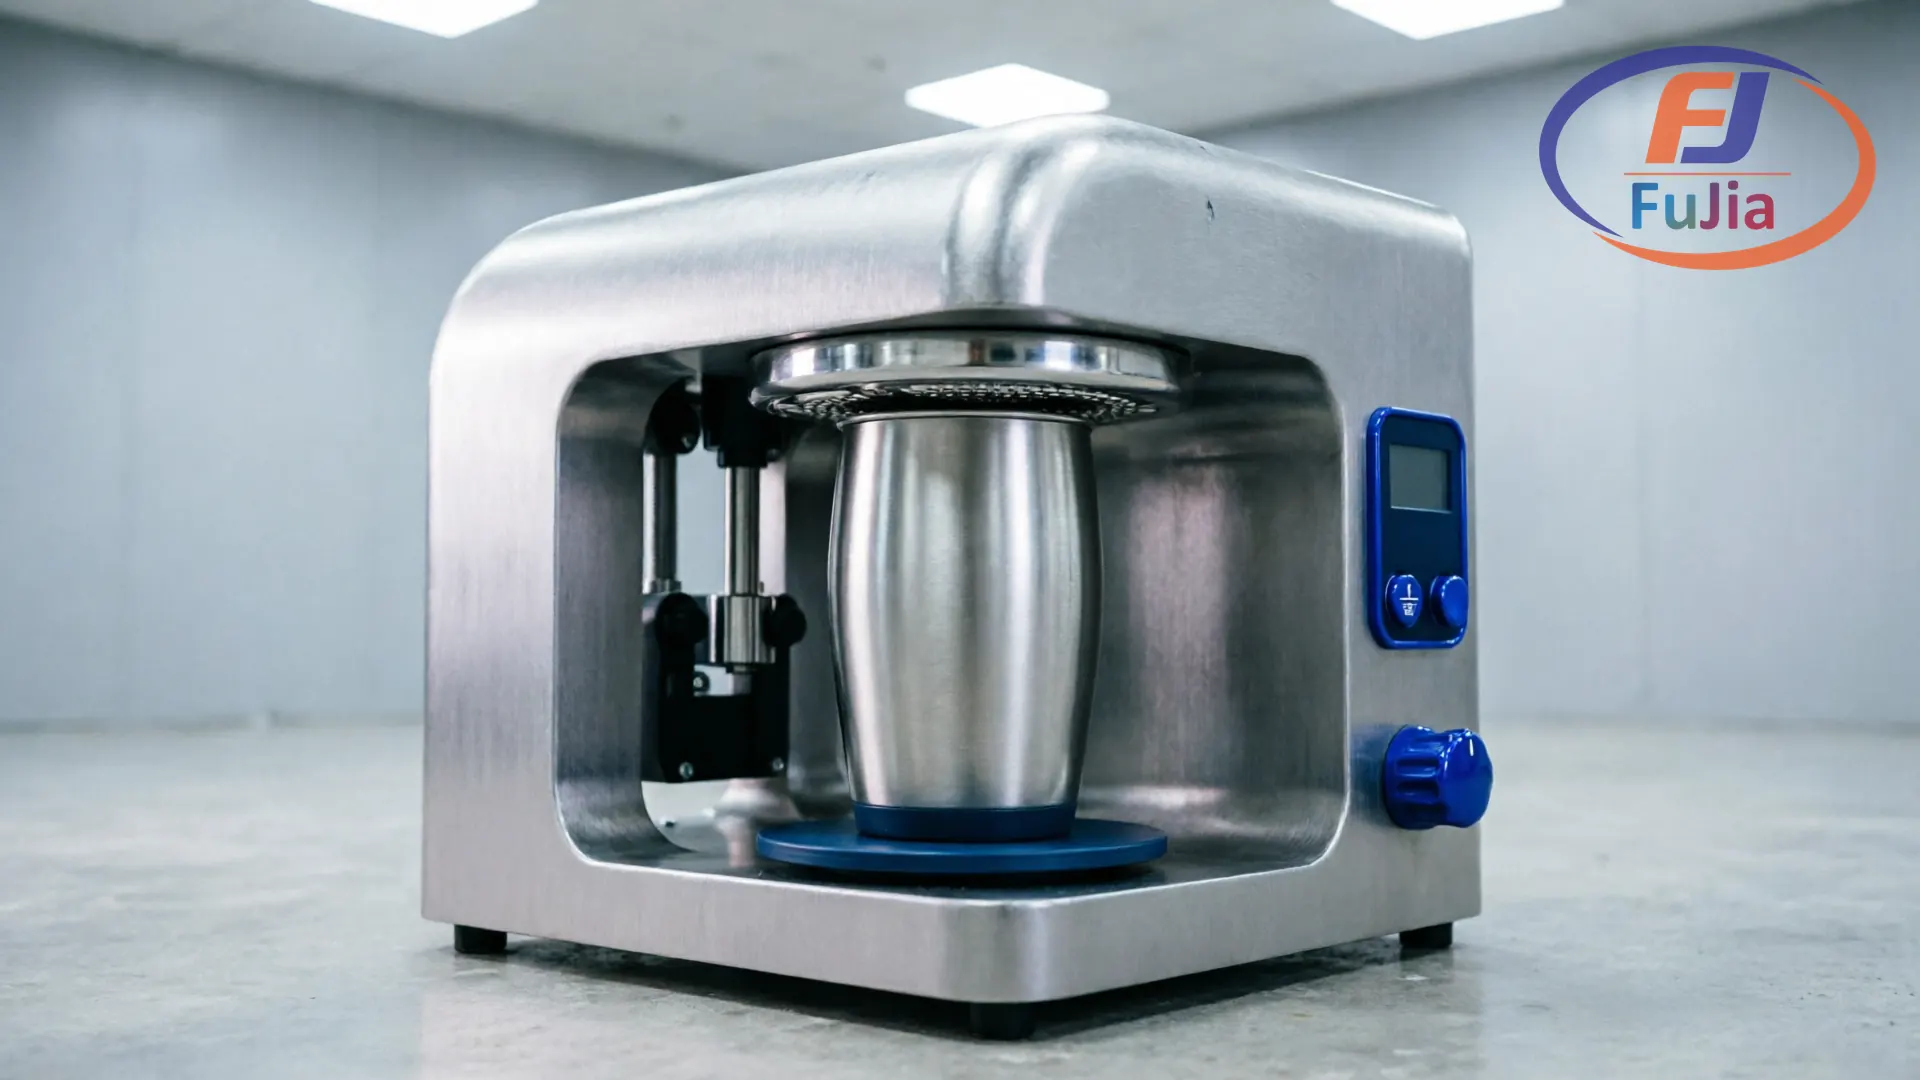
A sublimation tumbler press is a cylindrical heat transfer machine that applies controlled temperature and pressure to wrap dye-sublimation designs around drinkware such as tumblers, mugs, water bottles, and sport cups. Businesses offering custom drinkware use these presses to produce full-color, dishwasher-safe prints that outlast vinyl or laser engraving.
Key Takeaways
- A sublimation tumbler press wraps a curved heating element around cylindrical drinkware, reaching 350-400°F (175-200°C) for 45-60 seconds per side to transfer dye into the coating.
- Mug presses and tumbler presses use the same principle but differ in element length: mug elements handle 3-5″ tall items while tumbler elements stretch 6-11″ for full-wrap coverage.
- Commercial operations producing 50+ tumblers daily should invest in a dual-station or conveyor-style press to avoid the bottleneck of single-cup processing.
- Entry-level tumbler presses cost $120-300; commercial dual-station units range $400-1,200 with faster cycle times and replaceable heating wraps.
What Is a Sublimation Tumbler Press?
A sublimation tumbler press is a specialized heat press built specifically for cylindrical substrates. The machine uses a curved heating wrap or clamshell-style mug element that conforms to the shape of the drinkware, ensuring even heat distribution across the entire surface. Unlike flat heat presses designed for t-shirts, a tumbler press delivers consistent contact pressure around curves where flat platens cannot reach.
Sublimation tumbler presses work with any drinkware that has a polymer coating or stainless steel surface compatible with sublimation ink. The most common substrates include 20 oz and 30 oz stainless steel tumblers, 11-15 oz ceramic mugs, glass cans, aluminum water bottles, and ceramic travel cups. For a full breakdown of compatible substrates and sourcing options, see the sublimation blanks wholesale guide.
The press achieves sublimation by heating the dye-sublimation paper in direct contact with the coated surface. At 350-400°F, the solid ink turns to gas and penetrates the polymer coating, creating a permanent, full-color image that will not crack, peel, or fade. This process is fundamentally different from vinyl application or laser engraving, which sit on top of the surface rather than bonding molecularly. The science behind this process is explained in detail in the how does sublimation printing work guide. The International Organization for Standardization defines the colorfastness testing standards that verify sublimation print durability under ISO 105-A02 grayscale grading.
Types of Tumbler and Mug Presses
The market offers four main categories of sublimation drinkware presses. Each type serves a different production volume and budget.
| Type | Price Range | Output Speed | Best For |
|---|---|---|---|
| Single mug press | $60-180 | 1 cup / 2-3 min | Hobbyists, small crafters |
| Tumbler press (single station) | $120-350 | 1 tumbler / 3-4 min | Small businesses, Etsy shops |
| Multi-function combo press | $200-600 | 1 cup / 3 min, multiple attachments | Shops doing mugs + tumblers + plates |
| Dual-station tumbler press | $400-1,200 | 2 tumblers / 3-4 min | Commercial operations, 50+ units/day |
Single mug presses use a clamshell design with interchangeable mug elements. These machines handle 11 oz and 15 oz ceramic mugs effectively but cannot accommodate tall tumblers without a specialized wrap attachment. Popular models include the Cricut Mug Press (automated, $250), the Vevor Mug Press (manual, $80), and the Swing Design Mug Press ($150).
Tumbler presses feature a longer curved heating element that wraps around taller drinkware. The heating element typically measures 3.5″ x 6″ to 3.5″ x 11″, accommodating 20 oz skinny tumblers, 30 oz Yeti-style cups, and champagne flutes. Leading models include the HTVRONT Tumbler Heat Press ($180), the PYDLife Tumbler Press ($140), and the Go2Craft Dual-Station Press ($450).
Multi-function combo presses combine a flat platen with interchangeable mug, tumbler, and plate elements. A 5-in-1 or 8-in-1 heat press system gives operators flexibility to switch between t-shirts and drinkware without buying separate machines. These combos suit businesses that offer diverse personalized products.
Tumbler Press vs Mug Press: Which Do You Need?
The distinction between a mug press and a tumbler press comes down to element size and substrate compatibility. A mug press element is short (2.5-3.5″ tall), designed for standard ceramic mugs up to 15 oz. A tumbler press element is elongated (6-11″ tall), designed to wrap full-coverage designs on tall drinkware.
| Factor | Mug Press | Tumbler Press |
|---|---|---|
| Element height | 2.5-3.5 inches | 6-11 inches |
| Substrate range | 3-11 oz mugs, small cups | 15-30 oz tumblers, bottles |
| Design coverage | Partial wrap (flat area only) | Full 360° wrap |
| Typical price | $60-250 | $120-450 |
| Versatility | Limited to mugs | Handles mugs + tumblers |
Businesses deciding between the two should consider their product mix. Shops specializing in custom mugs for corporate gifts can operate profitably with a mug press alone. Operations expanding into the high-margin tumbler market (where 20 oz sublimation tumblers retail for $20-35 each) should invest in a dedicated tumbler press to achieve full-wrap designs that command premium pricing.
For businesses also considering an oven-based approach, the sublimation oven guide covers when a convection oven outperforms a press for irregular shapes like dog tags, shot glasses, and multi-surface items.
Temperature, Time & Pressure Settings
Correct settings separate a vibrant transfer from a ghosted, faded, or scorched print. The following table consolidates tested settings across the most common sublimation drinkware substrates.
| Substrate | Temperature | Time | Pressure |
|---|---|---|---|
| 20 oz stainless steel tumbler | 365-385°F (185-196°C) | 45-60 sec/side | Medium-firm |
| 30 oz stainless steel tumbler | 365-385°F (185-196°C) | 50-60 sec/side | Medium-firm |
| Skinny tumbler (20 oz) | 350-380°F (175-195°C) | 45-55 sec/side | Medium |
| 11 oz ceramic mug | 360-400°F (180-200°C) | 150-210 sec | Firm |
| 15 oz ceramic mug | 360-400°F (180-200°C) | 180-240 sec | Firm |
| Glass can (16 oz) | 355-375°F (180-190°C) | 180-240 sec | Light-medium |
| Aluminum water bottle | 375-390°F (190-200°C) | 60-90 sec | Medium-firm |
| Ceramic travel mug | 365-395°F (185-200°C) | 180-240 sec | Firm |
Tumbler presses with shorter elements (under 8″) require a two-step rotation: press the front for 45-60 seconds, rotate 180 degrees, then press the back for another 45-60 seconds. Full-length tumbler elements (10-11″) eliminate the need for rotation, pressing the entire design in a single cycle.
Pressure calibration varies by machine. Most tumbler presses use a spring-loaded or screw-down mechanism to clamp the element against the substrate. The substrate should feel firmly held without flexing or bending. Excessive pressure causes heat spots and uneven transfers; insufficient pressure produces faded patches where the element fails to make full contact.
For a comprehensive reference covering apparel, fabric, and hard substrates beyond drinkware, the sublimation temperature chart provides settings for over 30 materials.
How to Sublimate a Tumbler Step by Step
Producing a sale-quality sublimated tumbler requires careful preparation. Follow these steps for consistent results.
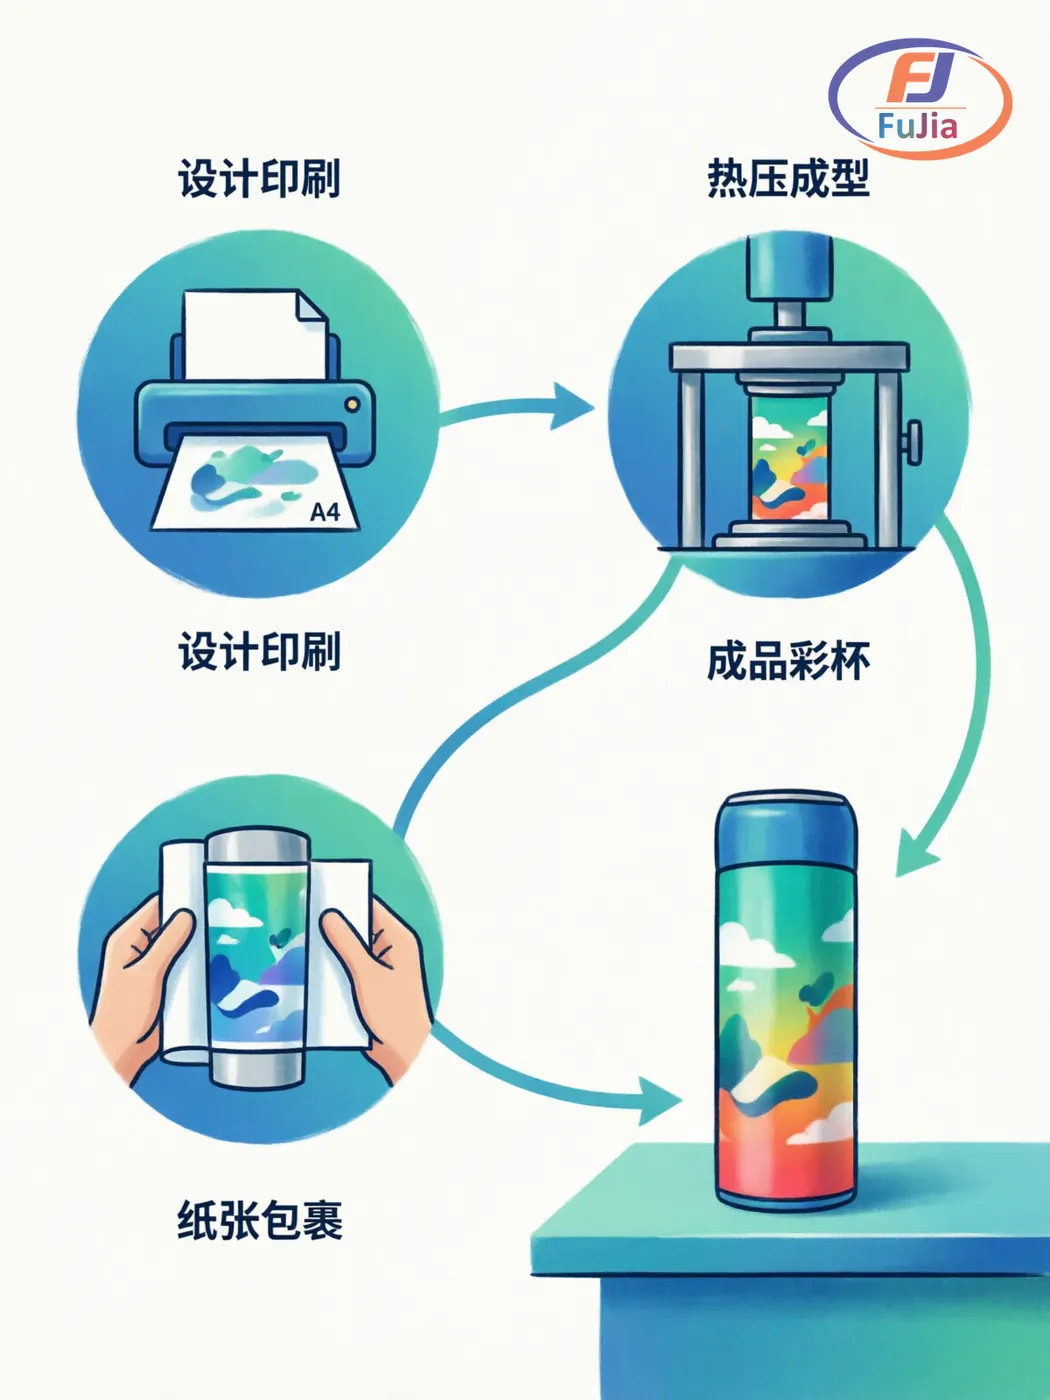
- Print the design. Mirror the image and print onto sublimation paper using a sublimation printer loaded with compatible dye-sublimation ink. Use the highest quality print setting (photo or best) for maximum ink density.
- Measure and trim. Wrap the printed design around the tumbler to confirm it covers the full printable area. Trim excess paper to within 0.25″ of the design edge. Any paper extending beyond the substrate will create a visible line.
- Secure with heat tape. Tape the design tightly to the tumbler using 3-4 strips of heat-resistant tape. Position tape on the top and bottom edges, not across the printed area. Wrinkle-free contact between paper and coating is critical for sharp transfer.
- Preheat the press. Set the tumbler press to the correct temperature for the substrate (see settings table above). Allow the machine to reach target temperature before loading, typically 3-5 minutes of warm-up.
- Press and rotate. Insert the tumbler into the heating element, close firmly, and start the timer. For short elements, press front for 45-60 seconds, rotate 180°, then press the back for 45-60 seconds. For full-length elements, a single 50-60 second press covers the entire design.
- Cool and reveal. Remove the tumbler using heat-resistant gloves. Peel the sublimation paper immediately for a glossy finish or let it cool for 2-3 minutes for a matte finish. Avoid sliding the paper sideways during removal, which causes ghosting.
Common Problems and Solutions
Faded prints indicate insufficient temperature, pressure, or time. Verify the press is reaching the displayed temperature using an infrared thermometer, as many budget machines report inaccurate readings. Increase dwell time by 15-second increments until colors reach full saturation.
Ghosting (a doubled or blurred image) occurs when the sublimation paper shifts during pressing. Secure the paper with additional heat tape strips and ensure the substrate does not rotate inside the element during the press cycle. Using a shrink-wrap sleeve as an alternative to tape eliminates shifting entirely.
Scorching or yellowing on stainless steel happens when the substrate overheats or exceeds 400°F. Reduce the temperature by 10-15°F and check whether the coating itself is rated for sublimation. Low-quality tumblers with thin coatings scorch at normal sublimation temperatures.
Uneven transfer with visible lines or patches typically results from a warped or worn heating element. Inspect the element surface for dips or gaps. Replace the heating wrap every 6-12 months in commercial operations, as repeated thermal cycling degrades element uniformity.
ROI: Can a Tumbler Press Business Be Profitable?
Custom sublimated tumblers retail for $18-35 each on Etsy and direct-to-consumer platforms. The personalized drinkware market has grown significantly as consumers seek unique gifts, corporate promotional items, and event merchandise. The per-unit cost breakdown for a small operation pressing 20 oz tumblers is:
| Cost Component | Per Unit |
|---|---|
| Blank stainless steel tumbler (polymer-coated) | $3.50-5.00 |
| Sublimation paper + ink | $0.30-0.50 |
| Heat tape + shrink wrap | $0.15-0.25 |
| Machine depreciation (amortized over 2,000 cycles) | $0.10-0.25 |
| Labor (3 min per tumbler at $15/hr) | $0.75 |
| Total cost per tumbler | $4.80-6.75 |
| Retail price | $18.00-35.00 |
| Gross margin per unit | $11.25-28.20 |
A single-station tumbler press generating 20 tumblers per hour yields a theoretical daily gross profit of $225-564 at full utilization. Commercial operations running dual-station presses can double this output with the same operator.
The how to start a t-shirt printing business guide covers broader business setup, licensing, and pricing strategy for personalized product businesses.
Buying Checklist: What to Look For
Before purchasing a sublimation tumbler press, evaluate these specifications:
| Feature | Why It Matters | Recommended Spec |
|---|---|---|
| Element length | Determines max tumbler height | 8″ minimum for 20 oz; 10-11″ for 30 oz |
| Temperature range | Affects substrate compatibility | Up to 400°F (200°C) minimum |
| Timer range | Controls dwell precision | 0-999 seconds with 1-second increments |
| Display type | Readability during operation | Digital LCD with separate temp/time displays |
| Element replacement | Long-term maintenance cost | Replaceable wraps available separately |
| Voltage | Matches workshop wiring | 110V (US) or 220V option for international |
| Warranty | Manufacturing defect protection | Minimum 12 months on heating element |
Avoid ultra-budget presses (under $80) that lack temperature calibration and use thin-gauge heating elements. These machines exhibit temperature swings of 20-30°F from the set point, producing inconsistent transfer quality that erodes customer satisfaction. Reputable suppliers such as HeatPressNation and Swing Design stock commercial-grade presses with manufacturer warranties and technical support, providing more reliable long-term value than unbranded marketplace listings.
Tumbler Press vs Sublimation Oven
Sublimation ovens and tumbler presses achieve the same goal through different mechanisms. A tumbler press applies direct contact heat from a curved element to the substrate surface. A sublimation oven uses forced hot air to heat the entire substrate from all directions simultaneously.
| Factor | Tumbler Press | Sublimation Oven |
|---|---|---|
| Speed | 3-4 min per tumbler | 6-12 min per batch |
| Output volume | 1-2 per cycle | 4-12 per batch |
| Design coverage | 95-100% wrap | 100% wrap (no rotation) |
| Substrate types | Cylindrical only | Any shape |
| Temperature precision | Element-controlled | Air temp ±5°F |
| Equipment cost | $120-1,200 | $200-800 |
Tumbler presses win on speed and precision for high-volume cylindrical production. Sublimation ovens excel for irregular shapes, multi-surface items, and simultaneous batch processing. Many commercial operations invest in both: a tumbler press for standardized drinkware and an oven for specialty items.
What is the best sublimation tumbler press for beginners?
The best sublimation tumbler press for beginners balances ease of use, temperature accuracy, and affordability. The HTVRONT Tumbler Heat Press ($180) features automatic temperature control, an LCD timer, and a curved element sized for 20-30 oz tumblers. The PYDLife Tumbler Press ($140) offers similar functionality at a lower price point, though build quality is lighter. Both machines reach 350-400°F with digital displays and include interchangeable wraps for different tumbler diameters. Beginners should prioritize machines with replaceable heating elements, as element wear is the most common long-term maintenance issue. The Go2Craft press series ($250-450) adds dual-station capability for operators planning to scale beyond hobby volume, pressing two tumblers simultaneously to cut processing time in half. Before purchasing, verify that the press element length matches the tallest tumbler planned for production, since elements under 8 inches require a two-step rotation that adds handling time to every single cycle.
How long does it take to sublimate a 20 oz tumbler?
Sublimating a 20 oz tumbler requires 45-60 seconds per side at 365-385°F (185-196°C) using a standard tumbler press. Most tumbler presses have elements under 8 inches in length, which means the design must be pressed in two rotations: front side first, then rotate 180 degrees for the back side. Total active press time is 90-120 seconds, plus 10-15 seconds for rotation and repositioning. Full-length tumbler elements (10-11 inches) eliminate the rotation step, pressing the entire 360-degree design in a single 50-60 second cycle. Including warm-up time, tape application, and paper removal, the complete process for one 20 oz tumbler takes approximately 4-5 minutes from start to finish. Commercial operations using dual-station presses can complete a tumbler every 2-3 minutes of labor time. Preheating the press for 3-5 minutes before the first cycle ensures the element reaches stable operating temperature, preventing the inconsistent ink transfer that occurs on cold starts.
Can I use a mug press for tumblers?
Standard mug presses cannot accommodate full-size tumblers because the heating element is too short (typically 2.5-3.5 inches) to cover the tall printable surface of a 20 oz or 30 oz tumbler. Some multi-function mug presses include a tumbler attachment or extended element that allows limited tumbler pressing. The Cricut Mug Press, for example, handles 11-16 oz mugs and small cups but does not support tall tumblers. To sublimate tumblers effectively, a dedicated tumbler press with a 6-11 inch curved heating element is required for full-wrap designs. Using a mug press on a tumbler produces a visible line where the element coverage ends, creating an unprofessional partial transfer that most customers will reject. Businesses that need both capabilities should consider a combo press with interchangeable mug and tumbler elements, which provides flexibility without requiring two separate machines in the workshop.
Do I need a sublimation printer to use a tumbler press?
Yes, a tumbler press requires sublimation ink to transfer designs permanently onto polymer-coated drinkware. The press provides heat and pressure, but sublimation only occurs when dye-sublimation ink vaporizes at high temperature and bonds with the polymer coating. Standard inkjet ink, laser toner, and pigment ink will not sublimate regardless of heat applied. To produce sublimated tumblers, the workflow requires a sublimation printer (such as an Epson SureColor or Sawgrass model loaded with sublimation ink), sublimation transfer paper, polymer-coated drinkware blanks, and the tumbler press itself. Some businesses outsource printing and receive pre-printed sublimation transfers, allowing them to operate a press without owning a printer. This approach reduces startup cost by $200-600 but limits design control and turnaround speed. For businesses planning high daily output, owning a dedicated sublimation printer delivers faster turnaround, lower per-unit ink costs, and complete creative control over print quality, sizing, and color calibration.
What temperature should I use for sublimation tumblers?
The optimal temperature for sublimating stainless steel tumblers is 365-385°F (185-196°C). Most tumbler press manufacturers recommend setting the machine to 375°F as a starting point, then adjusting by 5-10°F based on the first test print. Stainless steel conducts heat efficiently, which means the coating reaches sublimation temperature quickly. Ceramic mugs require higher temperatures of 360-400°F (180-200°C) with longer dwell times of 180-240 seconds, because ceramic is a thermal insulator that heats more slowly than metal. Glass substrates should be pressed at 355-375°F to avoid thermal shock cracking. Every tumbler coating formulation responds slightly differently, so running a test print before production batches is essential for dialing in the exact temperature for a specific brand of blanks. Operators should also verify actual element temperature with an infrared thermometer, as budget presses frequently display readings 15-25°F higher than the true element surface temperature.
