

You can print DTF transfers at home with a dedicated desktop DTF printer or a converted Epson EcoTank loaded with pigment inks, a heat press, and three consumables: PET film, adhesive powder, and DTF ink. A finished transfer presses onto fabric at 160°C for 15 seconds, and the full process takes about 10 minutes per sheet once set up. This guide covers the gear, the workflow, real costs, and the mistakes that waste beginner batches.
Key Takeaways
- Home DTF printing needs five items: a DTF capable printer, CMYK plus white pigment ink, PET film, hot melt adhesive powder, and a heat press.
- A finished transfer presses at 160°C for 15 seconds with medium pressure, then peels cold for the best bond.
- A converted Epson starts near $500, while a dedicated A3 desktop printer runs $1,200 to $2,500.
- Full powder curing and a 10 to 15 second post press are what make transfers survive 50 plus washes.
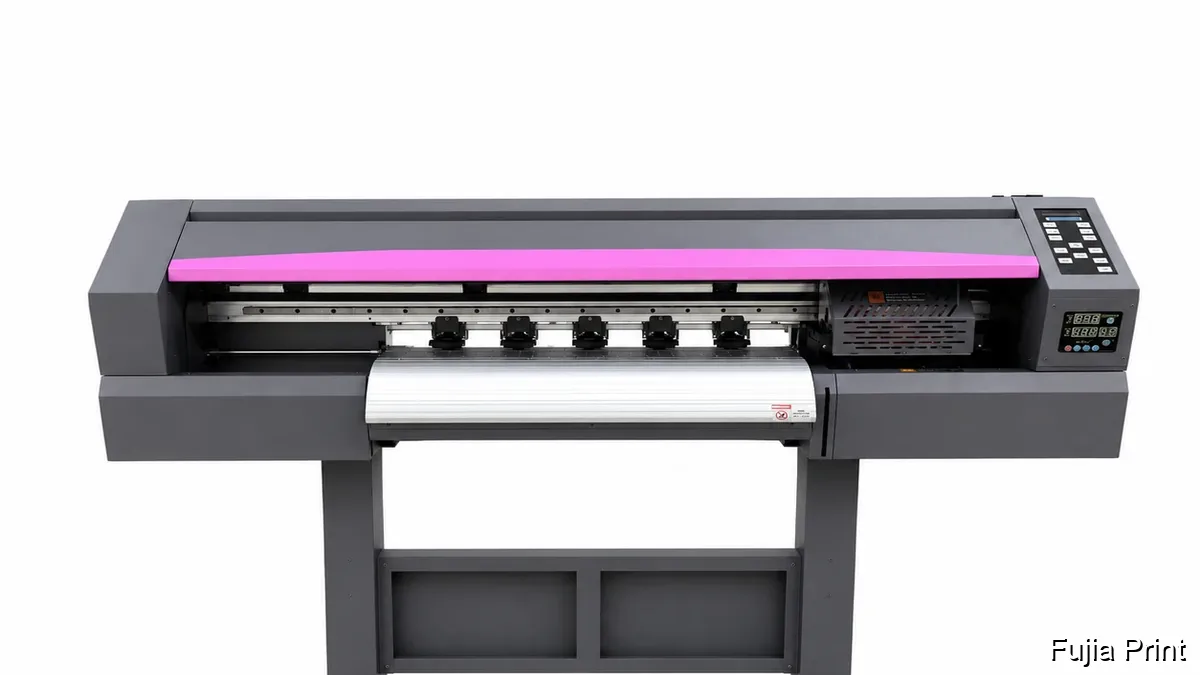
- When home batches outgrow a desktop machine, a dedicated DTF printer on the A1 platform scales to production volume.
What You Need to Print DTF Transfers at Home
DTF prints artwork onto a PET film, coats it with adhesive powder, cures that powder, then heat presses the design onto fabric. The printer lays the ink, but the film, powder, and press do the bonding. The table below lists every item a home setup needs with a realistic price range.
| Supply | Role | Spec to look for | Home cost |
|---|---|---|---|
| DTF printer | Prints CMYK plus white ink | A3 desktop, 30cm width, or converted Epson | $500 to $2,500 |
| DTF pigment ink | Color plus white base | 500ml to 1000ml bottles, CMYK + White | $40 to $80 per bottle |
| PET transfer film | Holds print until pressing | 75 μm thick, 30cm or 33cm roll, ~10m long | $20 to $40 per roll |
| Adhesive powder | Glues ink to fabric | Hot melt TPU, 80 to 100 mesh | $15 to $20 per 1lb bag |
| Heat press | Presses and bonds | Holds 160°C, 15s, medium pressure | $150 to $300 |
| RIP software | White layer and color | ACRORIP, CADLINK, PRORIP, Flexi | $0 to $200 |
The film is not paper, and regular inkjet ink fails because DTF needs pigment and a white underlayer. Fujia’s DTF transfer film uses a 5-year iterated Hengli virgin PET base with a proprietary coating that feeds more reliably than cheap film. Store powder dry and keep film dust free.
Step 1: Set Up Your Home DTF Printer
Setup means installing the printer, loading DTF ink, and confirming the printhead fires clean lines before you touch film. A converted Epson EcoTank needs a CISS and DTF pigment inks, and the OFFNOVA guide for the ET-8550 documents that conversion with RIP install and a nozzle test. A purpose built desktop unit such as Fujia’s FJ-A30 ships ready with a single Epson XP600 head, prints 2 to 3 m² per hour, and handles 30cm wide film at up to 1440×1440 dpi.
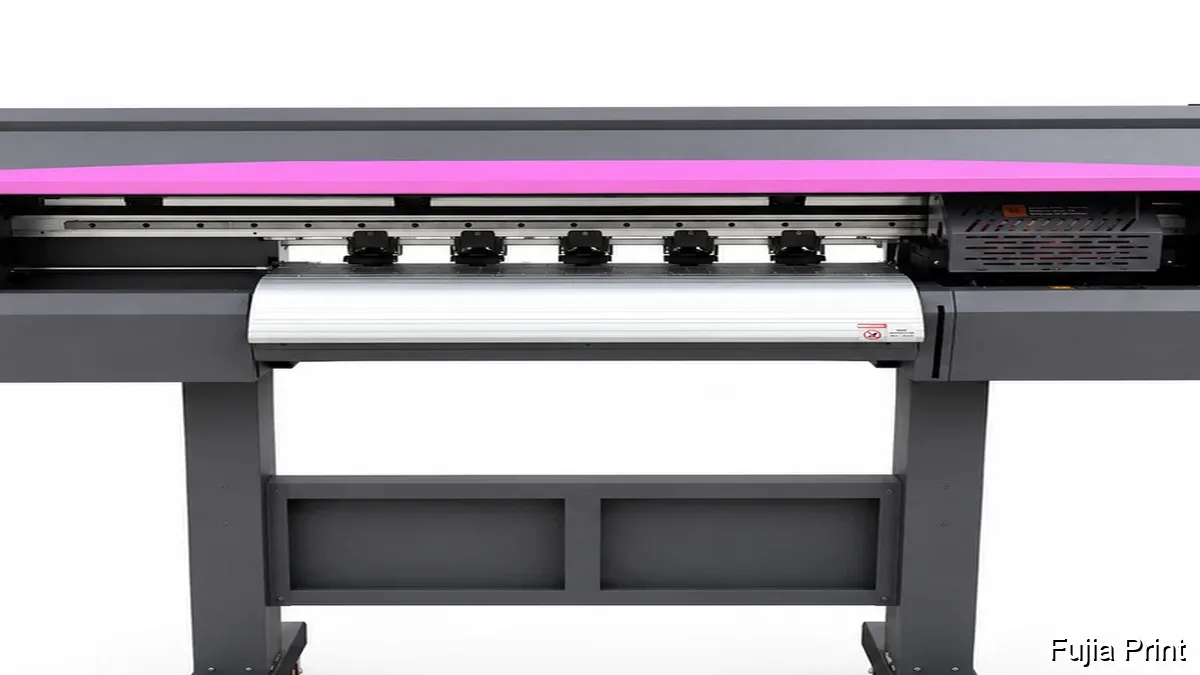
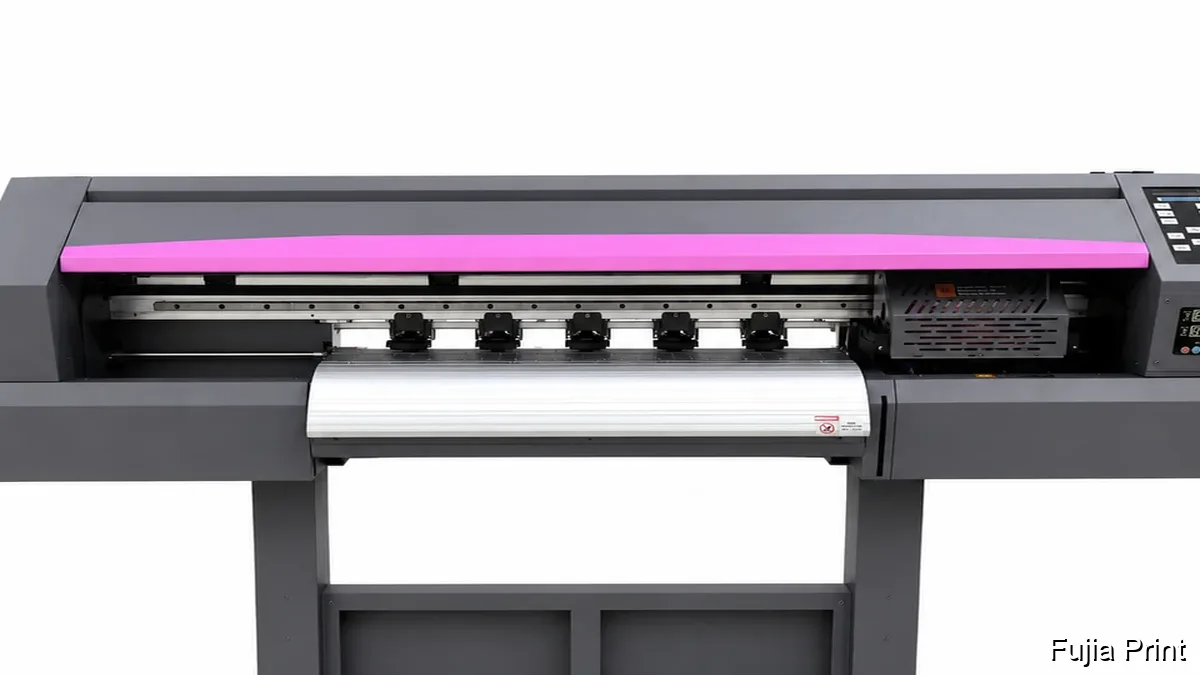
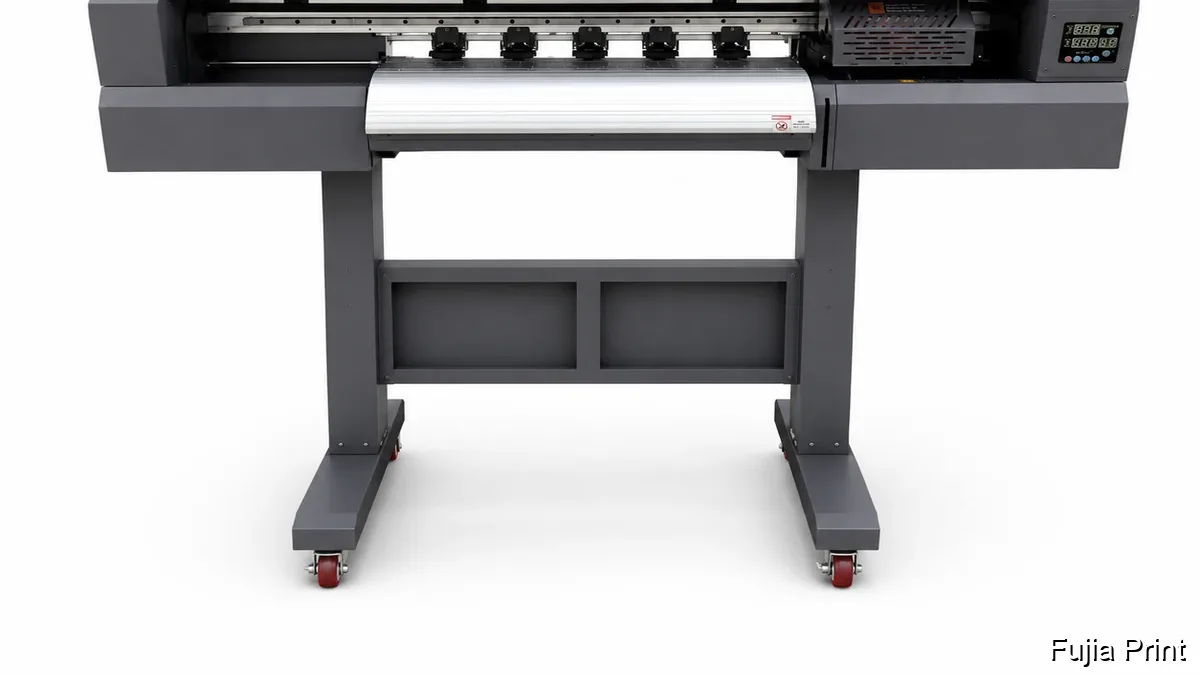
Larger Fujia A1 machines use the Epson i3200 head, 3,200 nozzles at 600 dpi per color on a 33.8mm width, paired with a Honson mainboard, Leadshine servo, and THK guide for 12-hour runs (see the Epson I Series page). Keep the room between 18 and 25°C at 35 to 65% humidity, because dry air clogs white ink and humidity weakens adhesion. Plan 3 to 5 minutes of daily maintenance: wipe the capping station and run a nozzle check. The DTF printer maintenance guide covers the routine.
Step 2: Print Your Design on DTF Film
Printing starts with artwork at 300 DPI in RGB, mirrored horizontally so the design reads right after pressing. Load film coated side to the head, then send the job through your RIP with the white underlayer on for dark fabrics. The printer lays CMYK first and white on top, which is why white ink needs its own circulation to stop TiO2 settling.
A desktop A3 machine prints one sheet in about 2 to 5 minutes at 720×1200 to 1440×1440 dpi. Let the ink sit 1 to 2 minutes so it stays tacky, which is what makes powder grab evenly. Fujia’s DTF ink types include a 13-color system, CMYK plus LC, LM, orange, red, green, and blue, for a wider gamut than standard 6-color sets. Never let the sheet dry before powder, because the sticky window is short, so print and powder in one motion.
Step 3: Apply and Cure Powder for DTF Transfers
Apply powder while the ink is wet. Sprinkle hot melt adhesive across the printed area, tilt to spread it, then flick the back so loose powder falls from the blank zones. Catch the excess on a tray and funnel it back, because a 1lb bag costs about $16.99 and unused powder is reusable.
Cure the powder into a clear, glossy layer. A small DTF oven runs 120 to 160°C for about 2 minutes, or hover a press platen 1 to 2cm above the film for 2 to 3 minutes at 160°C. InkProducts notes the powder melts at 210°F over 2 to 3 minutes and should look glossy, not milky, when done. Under curing is the top cause of peeling after washing, so watch for the orange peel sheen and never overheat, which bleeds adhesive into clear areas.
Step 4: Heat Press DTF Transfers onto Fabric
Pressing moves the design from film to fabric. Pre press the garment 3 to 5 seconds to drive off moisture, place the cured film face down, and cover it with a Teflon sheet. Press at 160°C for 15 seconds with medium to firm pressure, then peel the carrier cold. Temperature shifts by fabric, so use the table below.
| Fabric | Temp | Time | Pressure | Peel |
|---|---|---|---|---|
| 100% cotton | 160°C | 15s | Medium to firm | Cold |
| Polyester blend | 150°C | 12 to 18s | Medium | Cold |
| 100% polyester | 140°C | 10 to 15s | Light to medium | Cold |
| Nylon or spandex | 130°C | 10 to 12s | Light | Cold |
A DTF heat press that holds temperature evenly matters more than raw power, because an iron spikes and drops across the design. Cotton at 160°C for 15 seconds rates Grade 4 to 5 color fastness on the AATCC scale when powder is fully cured. If you feel resistance while peeling, wait longer, because pulling early lifts ink off the fabric.
Step 5: Finish and Wash Your DTF Transfers
Finish with a post press. Lay a Teflon sheet over the design and press again for 10 to 15 seconds with no film. This second press pushes adhesive deeper into the fibers and is the gap between a transfer that cracks after 10 washes and one that lasts 50 plus. Fujia’s apparel case studies treat 50 plus heavy machine washes as the normal benchmark when this step is followed.
Wait at least 24 hours before the first wash so the adhesive sets. Turn garments inside out, wash cold, and tumble dry low. Daily upkeep stays light at 3 to 5 minutes: a nozzle check and a wiped capping station keep white ink flowing, and the DTF printer maintenance guide lists the weekly deep clean that prevents banding.
Common Mistakes That Ruin Home DTF Batches
The first mistake is under curing the powder. If the layer looks milky instead of glossy, the adhesive never activated, and the transfer peels in the first few washes. Add 3 to 5 seconds and confirm the sheen before pressing.
The second is letting ink dry before powder. Work print to powder in one motion, because a dry sheet will not grab adhesive and leaves bare spots. The third is wrong press temperature on polyester, which scorches at 160°C, so drop to 140°C for 10 to 15 seconds on synthetics.
The fourth is skipping the post press, which costs wash life. The fifth is poor ventilation: melting powder releases fumes, so run a fan or open a window and wear a mask. The sixth is cheap film that jams the feed and shreds a sheet mid print.
DIY Converted Printer vs a Dedicated DTF Printer
A converted Epson costs the least to start, about $500 to $900 with a CISS and starter kit, and fits a spare desk. The trade off is manual white ink circulation, finer clog risk, and slower output near 2 to 3 m² per hour. A dedicated A3 desktop printer costs $1,200 to $2,500, includes the white ink system and RIP, and prints the same speed with far less daily fuss.
| Criterion | Converted Epson | Dedicated A3 | Fujia A1 4-head |
|---|---|---|---|
| Start cost | $500 to $900 | $1,200 to $2,500 | Factory quote |
| Print width | Up to 30cm | 30cm | 650mm (25.5in) |
| Speed | ~2 to 3 m²/hr | ~2 to 3 m²/hr | 27 m²/hr at 4 pass |
| White ink | Manual CISS | Built in | Auto circulation, Honson board |
| Best for | Hobby, low volume | Side hustle | Production, 12hr runs |
When volume grows, the gap widens. Fujia’s A1 4-head uses four Epson i3200 heads with a Honson mainboard, Leadshine servo, and THK guide for 12-hour continuous production at 27 m² per hour. The Brazil studio case study cut per order cost from R$18 to R$6.5, a 64% drop, with a 5.5 month payback on a Fujia A3 desktop. The Turkish garment factory on an A1 dual head reported plus 40% throughput, minus 30% cost, and delivery cut from 7 to 2.5 days. Based on data from our customers across 50+ countries, the break even between outsourcing and in house printing lands near 200 to 400 transfers a month.
Can you really print DTF transfers at home with a regular printer?
Yes, but the word regular needs a qualifier. A standard office inkjet will not work because DTF requires pigment ink and a white ink layer, and most consumer printers clog without white ink circulation. The common home route is a converted Epson EcoTank, such as the ET-2800, ET-8550, or L805, fitted with a CISS and DTF pigment inks, which the OFFNOVA conversion guide documents for the ET-8550. A purpose built A3 desktop DTF printer like Fujia’s FJ-A30 uses a single Epson XP600 head, prints 2 to 3 m² per hour, and handles 30cm wide film at up to 1440×1440 dpi. Either path fits a spare room or garage, and the real limit is ventilation and steady humidity between 35 and 65% RH, not the printer itself. Plan for a daily 3 to 5 minute nozzle check and the workflow stays reliable.
What supplies do I need to print DTF transfers at home?
Five items make up a home DTF setup. First, a DTF capable printer, either converted or dedicated. Second, DTF pigment ink in CMYK plus white, supplied in 500ml to 1000ml bottles. Fujia’s 13-color DTF ink system adds LC, LM, orange, red, green, and blue on top of the base six for a wider gamut than standard sets. Third, PET transfer film, typically 75 μm thick, sold in 30cm or 33cm rolls about 10m long. Fujia’s film uses a 5-year iterated Hengli virgin PET base with a proprietary coating for steadier feeding. Fourth, hot melt adhesive powder, where a 1lb bag runs about $16.99 and melts at 210°F over 2 to 3 minutes. Fifth, a heat press that holds 160°C for 15 seconds at medium pressure, with a RIP such as ACRORIP or CADLINK for the white layer. Compare full bundles in the DTF consumables wholesale guide.
Do I need a heat press, or can I use a home iron?
A heat press is strongly recommended. A household iron gives uneven heat and pressure, so transfers tend to peel or crack after a few washes. Cotton works best at 160°C for 15 seconds with medium to firm pressure, and an iron cannot hold that temperature across the whole design at once. A 15×15 inch clamshell press costs $150 to $300 and is the minimum for repeatable results. If you make one shirt a year, a heavy iron at max heat for 60 to 90 seconds can work, but expect weaker wash life. For any regular home business, the press pays for itself quickly. Based on data from our customers across 50+ countries, presses beat irons on durability by a wide margin, and most beginners regret skipping the press once orders pick up. The DTF heat press page explains the settings per fabric.
How much does it cost to print DTF transfers at home?
Two budgets apply. A converted Epson EcoTank costs $300 to $600 for the printer plus $150 to $250 for a CISS, inks, and a starter kit, so roughly $500 to $900 to start. A dedicated A3 desktop DTF printer runs $1,200 to $2,500 and includes the white ink system and RIP. Consumables add $0.30 to $0.80 per A4 transfer: film at $20 to $40 per roll, powder at $15 to $20 per pound, and ink at $40 to $80 per 500ml to 1000ml bottle. Based on data from our customers across 50+ countries, a typical home setup lands at $1,500 to $3,500 all in. Outsourcing the same A4 sheet costs $3 to $8 each, so the break even is roughly 200 to 400 home prints. The Brazil studio case study cut per order cost from R$18 to R$6.5, a 64% drop, with a 5.5 month payback on a Fujia A3 desktop.
Conclusion
Printing DTF transfers at home comes down to five items, a 10 minute per sheet workflow, and disciplined curing and pressing at 160°C for 15 seconds with a cold peel. When your home batches outgrow a desktop machine, compare dedicated DTF printers built in our 3,500 m² Guangzhou factory before you buy.
Sources
- Epson I Series printheads (i3200 specifications): backs the 3,200 nozzle count, 33.8mm print width, and 600 dpi per color PrecisionCore claims.
- OFFNOVA ET-8550 to DTF conversion guide: backs the converted Epson workflow and RIP installation steps.
- InkProducts DTF adhesive powder (white, 1lb): backs the $16.99 price and 210°F, 2 to 3 minute melt spec.
- InkProducts 13in DTF transfer film roll: backs the 75 μm thickness and 33cm by 10m roll dimensions.
