

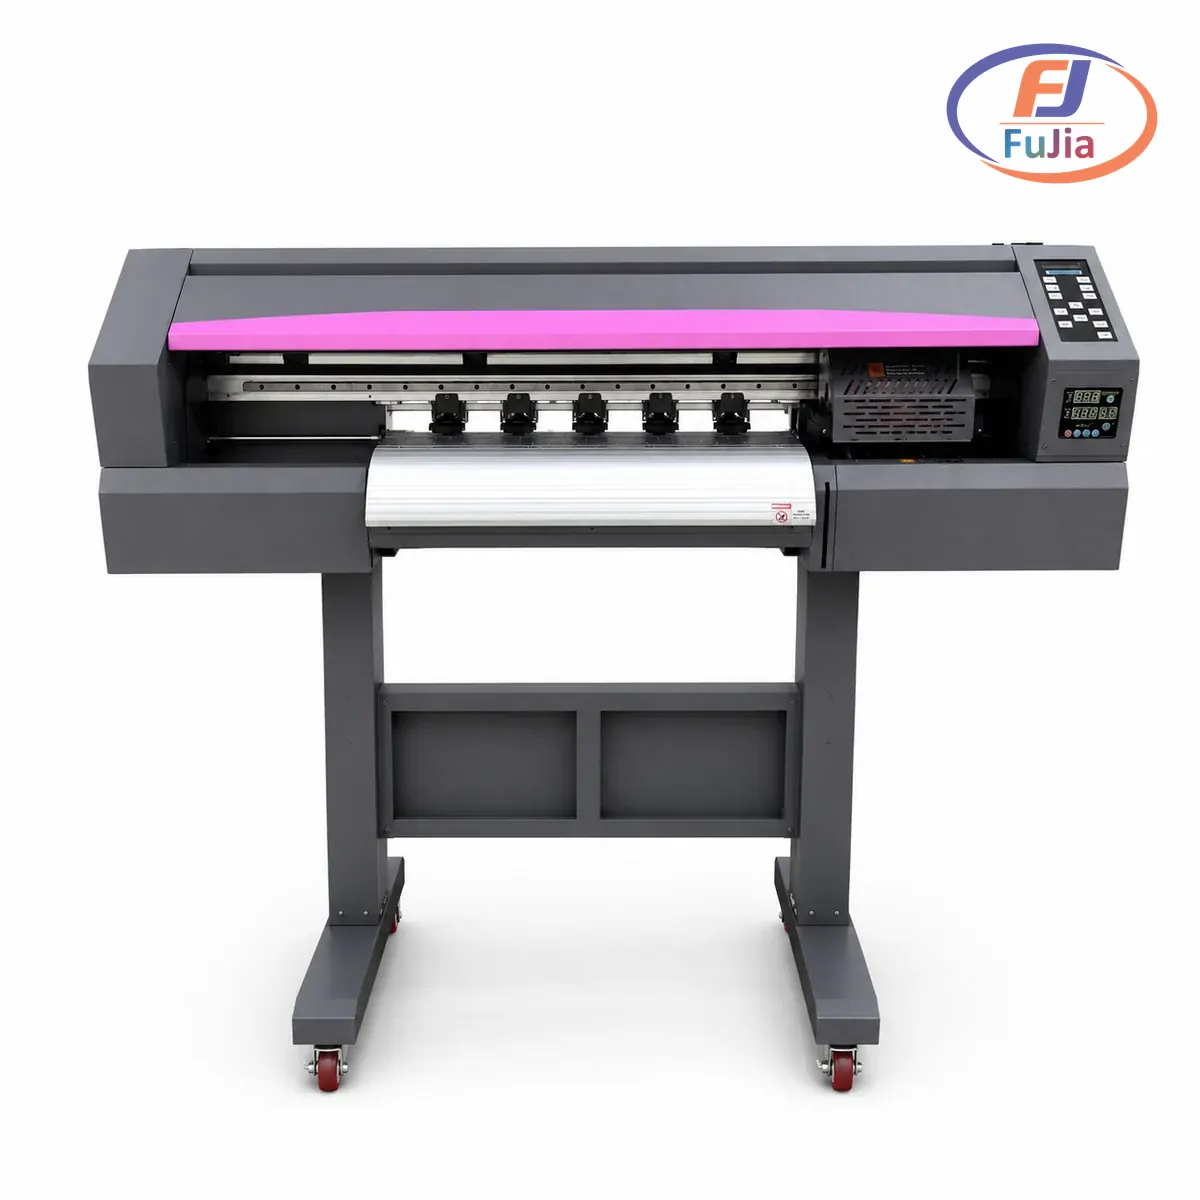
DTF transfers bond to hats and caps when you pair a curved cap platen with the correct temperature, pressure, and cold-peel timing. This guide shows how to press DTF onto structured, foam, and trucker caps, why transfers lift, and how to make the print survive 50-plus washes. Fujia Print builds the DTF printers that produce those transfers, from A3 desktop units to 25.5-inch A1 industrial machines, and the company is ISO 9001 certified.
Key Takeaways
- DTF transfers adhere to hats and caps when pressed at 150-160°C with a curved cap platen and cold-peel film.
- A cap heat press beats a flat press on structured and trucker caps because the curved platen matches the crown.
- Fujia DTF film holds 50-plus heavy washes at AATCC Grade 4-5 color fastness on cotton-blend caps.
- In-house DTF costs roughly $0.10-0.40 per hat transfer versus $0.87-1.20 for ready-made transfers.
- Start with a curved cap platen, 160°C, 15 seconds, firm pressure, then cold peel after 30 seconds.
Can You Use DTF Transfers on Hats and Caps?
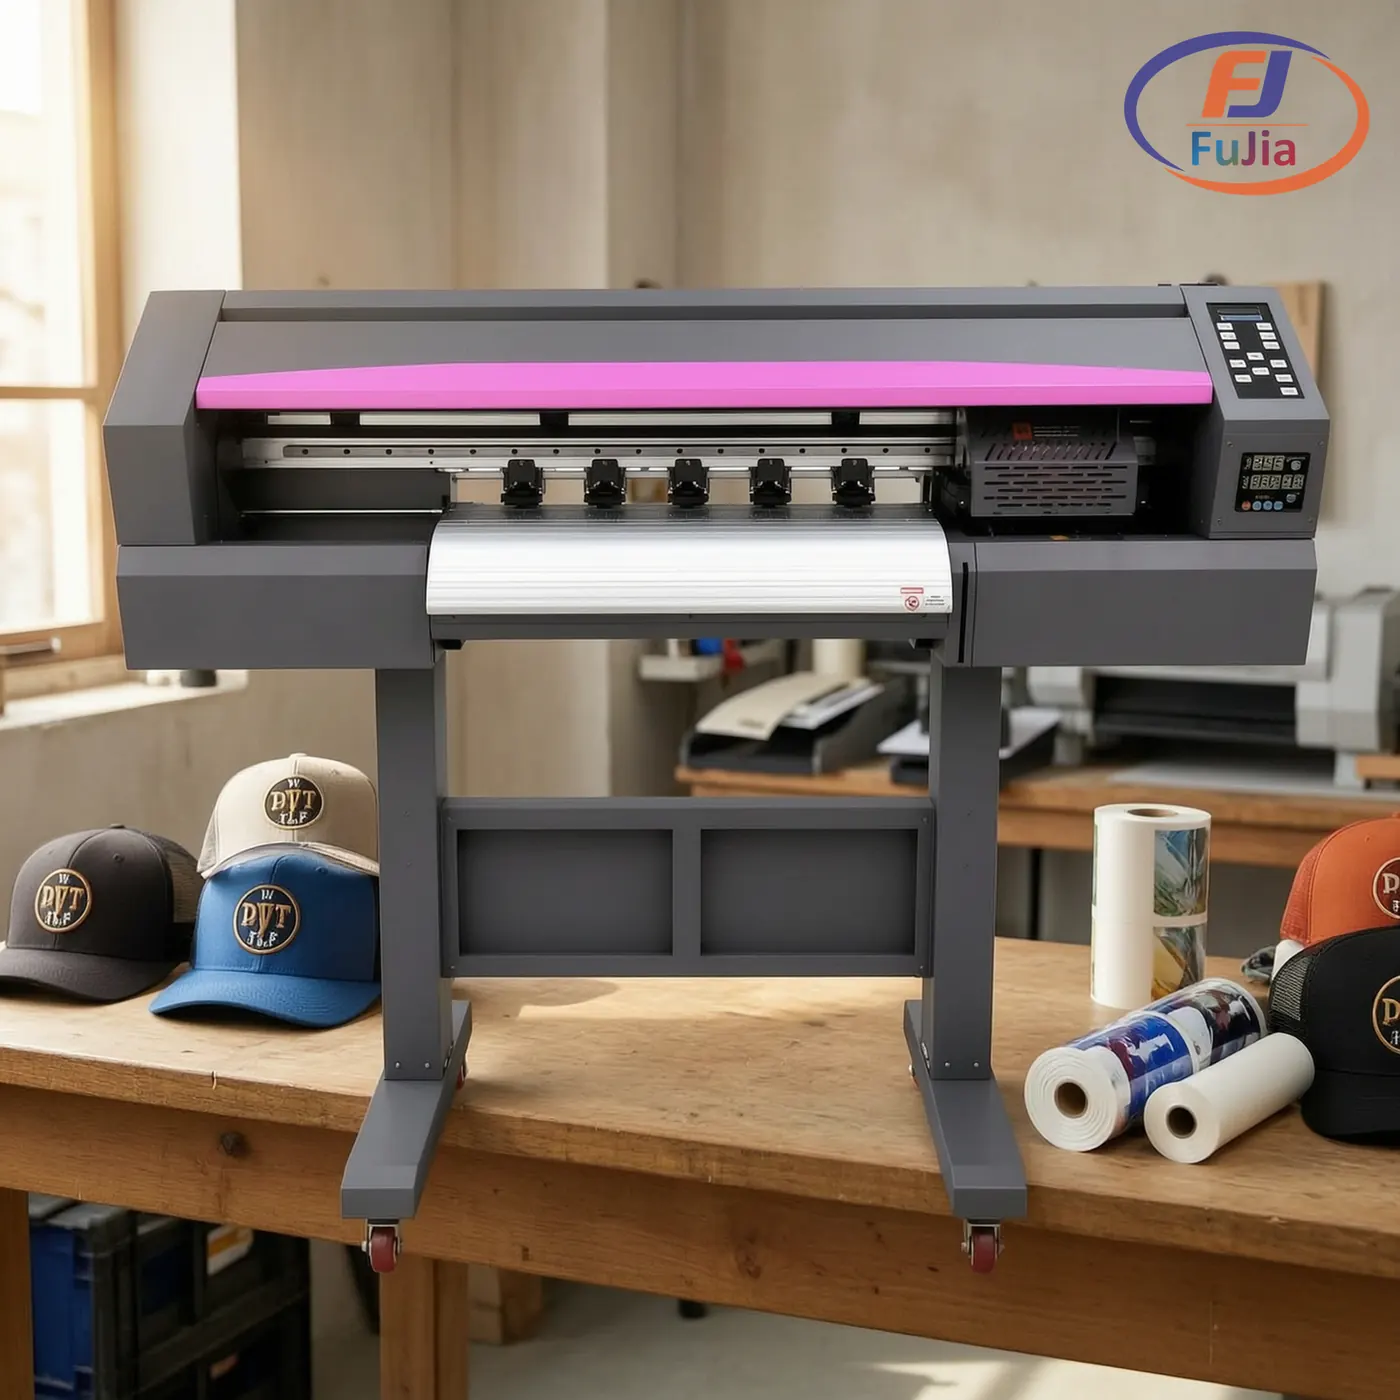
Yes. DTF (direct-to-film) prints the design onto PET film, coats it with hot-melt adhesive powder, cures the powder, then heat-presses the film onto fabric. The adhesive layer is what sticks the ink to the cotton, twill, and polyester blends used in caps. DTF works on hats because the finished transfer is thin and flexible, so it bends with the crown instead of cracking like a thick vinyl layer.
The standard DTF application runs at 160°C for 15 seconds with a cold peel. Fujia Print’s transfer film uses Hengli virgin PET with a proprietary cold and hot peel coating developed over five years of in-house research. That film carries a 13-color ink system (CMYK plus light cyan, light magenta, orange, red, green, and blue) so small hat logos keep fine detail and smooth gradients.
Durability is the real test on headwear. The same film and powder stack used on garments reaches 50-plus heavy machine washes at AATCC Grade 4-5 color fastness on cotton-blend fabric, a result scored on the wash-fastness scale published by AATCC and referenced by standards bodies such as NIST. Caps take more abrasion than shirts because they get handled and stored repeatedly, so a cold-peel film with a post-press step is the safer choice.
Cap Heat Press vs Flat Press for Curved Surfaces
A flat heat press fights the shape of a hat. A structured cap has a rounded crown with a buckram-backed front panel, and a flat platen only touches the high points. The gaps let the transfer lift at the edges. A cap heat press solves this with a curved lower platen that matches the crown radius, so pressure lands evenly across the front panel.
| Feature | Curved cap heat press | Flat heat press |
|---|---|---|
| Platen shape | Curved, ~10 x 15 cm (4 x 6 in) | Flat steel plate |
| Fit on structured crown | Full contact | Edge gaps, lifts |
| Interchangeable platens | Front, visor, back, lower crown | None |
| Pressure control | Medium-firm, ~40-60 psi | Manual screw or pneumatic |
| Best for hats | Structured, trucker, foam caps | Flat panels only |
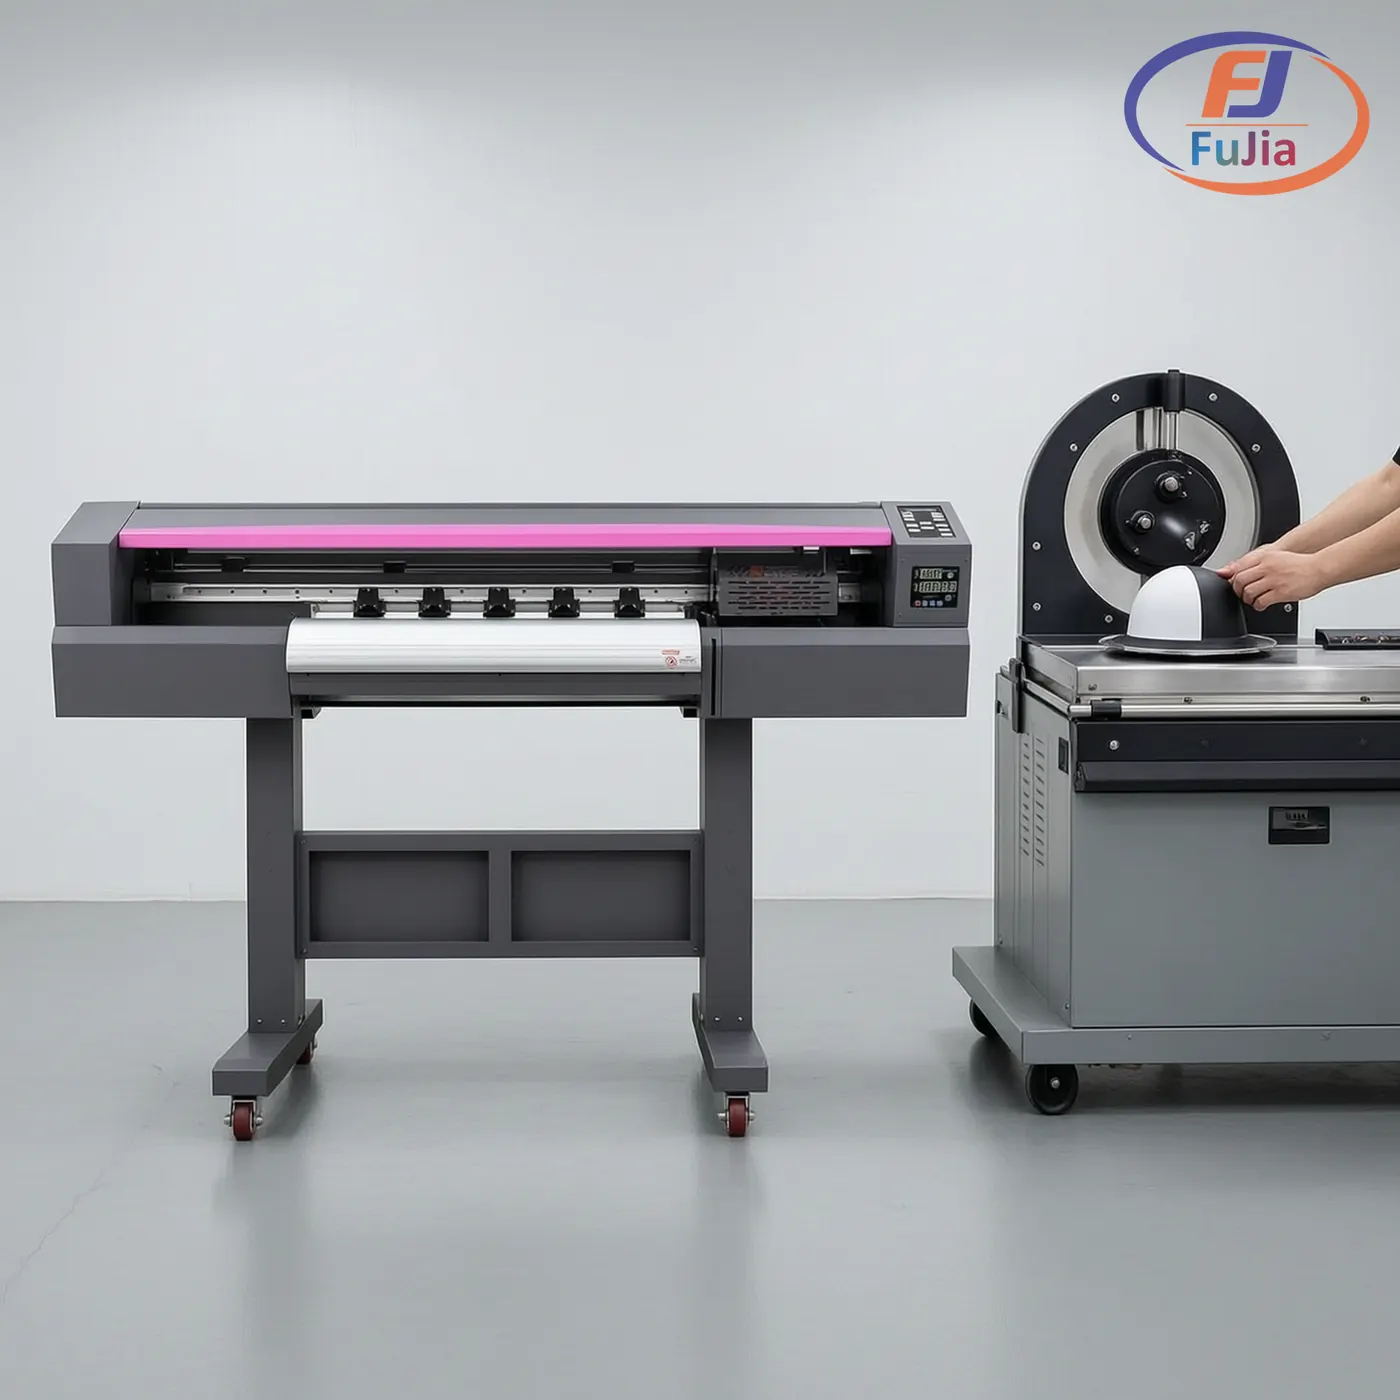
A curved cap platen of about 10 x 15 cm covers the front panel of most snapbacks and dad hats. The visor and lower crown need smaller curved attachments, which a dedicated cap press supplies as swap-in platens. Most cap presses reach a firm setting around 40-60 psi on a pneumatic unit, or a fixed “firm” detent on a manual swing-away. A DTF heat press with a cap platen is the practical tool for this work, and the exact dwell and peel data lives in our DTF heat press settings guide.
For garment and headwear decoration more broadly, see our apparel printing solutions, where DTF is the default method for cotton and cotton-blend products.
DTF Transfer Settings for Structured, Foam, and Trucker Caps
Not every cap takes the same heat. Foam-front truckers scorch above 160°C, and mesh backs melt if you leave the press closed too long. Every style below uses a cold peel, so wait until the film reaches room temperature before you lift it. The table sets a starting point for the common cap styles you will meet.
| Cap type | Temp | Time | Pressure | Notes |
|---|---|---|---|---|
| Structured cotton twill | 160°C | 15s | Firm | Buckram front, most common style; cold peel |
| Foam-front trucker | 150°C | 12-15s | Medium | Foam scorches above 160°C; cold peel |
| Mesh trucker back | 150°C | 10-12s | Light-medium | Mesh melts at high heat; cold peel |
| Fitted wool blend | 155°C | 15s | Firm | Needs even crown contact; cold peel |
| Baseball / dad hat | 160°C | 15s | Firm | Cotton twill, straightforward; cold peel |
Always pre-press the target panel for 3-5 seconds at 150°C to knock out moisture and creases before the real press. Fujia DTF printers ship with Epson I3200 printheads on the A1 line, which hold a 720 x 2400 dpi resolution at 8-pass for sharp small-text logos. The film you print on matters as much as the press: cold-peel film gives a softer hand and better edge seal on curved fabric than hot-peel film.
Step-by-Step: How to Press a DTF Transfer onto a Hat
This workflow covers a single front-panel logo on a structured or trucker cap. Adjust time and temp from the table above for foam or mesh panels.
Step 1: Prepare the cap and platen
- Pre-press the cap front for 3-5 seconds at 150°C. A short open-press removes humidity and relaxes creases so the transfer lies flat.
- Load the curved cap platen and seat the crown flush. The front panel should wrap the platen with no air gap at the buckram.
- Weed the DTF transfer and place it adhesive-side down. Align the design by eye, then tape the top edge so it cannot shift when you close the press.
Step 2: Press the transfer
- Close the press at 160°C for 15 seconds with firm, even pressure. Use a parchment or heat-resistant cover sheet over foam-backed panels to spread heat.
- Release and let the film cool to room temperature. Do not rush the peel. A full cool-down takes about 30 seconds on a vented cap.
- Check crown contact before moving on. If one edge looks dull, the platen gap caused it, not the film.
Step 3: Cold peel and finish
- Peel the PET film slowly from one corner once fully cool. A cold peel leaves the adhesive locked into the fibers.
- Post-press for 5 seconds at 150°C with a cover sheet. This sets the adhesive and kills any edge tack.
- Re-press any lifted corner for 3-5 seconds. Small touch-ups fix 90 percent of lift without reprinting.
Why DTF Lifts or Peels on Hats (and How to Fix It)
Lifting almost always traces to one of five causes. The fixes are cheap and fast once you know which one you hit.
A flat press on a structured cap leaves air gaps, so the corners never bond. The fix is a curved cap platen that contacts the whole crown. Peeling while the film is still warm breaks the adhesive before it sets. Wait the full 30 seconds and peel cold. Foam-front panels scorch and shrink at 160°C, which weakens the bond. Drop to 150°C and shorten the dwell to 12 seconds.
Low pressure is the quiet killer. A firm setting near 40-60 psi gives the adhesive something to grab. Old or generic film is the last culprit. Fujia Print’s transfer film uses Hengli virgin PET with a cold and hot peel coating refined over five years, and the company validates every batch in its testing center before shipment. A fresh, correctly stored roll removes most mystery failures.
DTF or Sublimation on Hats: The Curved-Fabric Verdict
The answer depends entirely on the cap fabric. Sublimation only dyes polyester, and only light or white polyester at that. Most caps people want decorated, structured twill, snapback blends, and dark panels, fall outside sublimation’s lane. DTF prints white and a full 13-color range, so it covers dark and cotton caps that sublimation cannot touch.
| Factor | DTF | Sublimation |
|---|---|---|
| Cap fabric | Cotton, twill, blends, dark | White or light polyester only |
| White ink | Yes, 13-color system | No white layer possible |
| Curved crown | Curved cap platen adapts | Flat polyester only, no dark |
| Wash life | 50+ washes, AATCC Grade 4-5 | 500+ cycles but polyester only |
| Equipment | DTF printer plus cap press | Sublimation printer plus press, fabric-limited |
| Best use | Small runs, dark or structured caps | Bulk white polyester caps |
For a head-to-head on the two methods across garments, our DTF vs sublimation printer comparison breaks down cost and fabric limits. On hats, DTF wins for the majority of real orders because buyers want branded cotton and structured caps, not blank white polyester.
Cost to Print DTF Hat Transfers (2026)
Ready-made DTF hat transfers sell on marketplaces for about $0.87-$1.20 each, based on current Etsy listings for custom hat patches. That price works for a handful of caps with no equipment outlay. The math changes once volume climbs.
| Route | Cost per hat transfer | When it pays |
|---|---|---|
| Ready transfers (marketplace) | $0.87-$1.20 | Low volume, no equipment |
| In-house DTF (own printer) | $0.10-$0.40 | 200-500 transfers per month |
| Outsourced screen print | MOQ 200+, higher per small batch | Large identical runs only |
Based on data from our customers across 50+ countries, a shop running 200-500 hat transfers a month typically covers a desktop DTF printer in 4-8 months, after which the per-cap cost drops to the $0.10-0.40 ink, film, and powder range. The Turkish garment factory in our case files cut per-design minimums from 200 pieces to zero after moving to DTF, which matters for hat makers who sell one-off team and event caps. Fujia Print backs its machines with a 2-year warranty and ships common parts within 48 hours, so a stalled cap line gets moving fast.
Can you use DTF for hats?
Yes, DTF works on hats and caps, and it is one of the few methods that handles dark, structured, and cotton-blend caps without pretreating the fabric. The process prints your logo onto PET film, coats it with hot-melt adhesive powder, cures the powder, then presses the film onto the cap at 160°C for 15 seconds with a cold peel. The result is a thin, flexible layer that bends with the crown instead of cracking like thick heat-transfer vinyl. Durability is strong: Fujia Print’s film and powder stack reaches 50-plus heavy machine washes at AATCC Grade 4-5 color fastness on cotton-blend fabric, which is the grading scale AATCC publishes for lab wash tests. The one requirement is the right press. A curved cap platen, not a flat press, gives full contact on a structured crown. With that setup, DTF covers trucker caps, snapbacks, fitted wool blends, and baseball dad hats in a full 13-color range including white.
What size should a DTF be for a hat?
The front panel of a standard cap takes a transfer about 3.5 x 2 inches (9 x 5 cm), which fits most logos and short text without wrapping the buckram. Side panels are smaller, roughly 2 x 1.5 inches (5 x 4 cm), and the visor accepts only a narrow strip near 1 x 4 inches (2.5 x 10 cm) if your platen reaches it. Keep small text above 4 mm tall so the 720 x 2400 dpi printhead resolution on an A1 DTF line stays legible after peel. Oversized patches that cross the front seam need a curved platen and a pre-press to flatten the seam, or the film will lift along the stitch line. For a back-of-crown design, size close to 3 x 1.5 inches (7.5 x 4 cm). When in doubt, print the transfer slightly smaller than the panel and center it, because a design that overhangs the crown radius will not bond at the edges. Measure the target panel before you rip the film.
Why is my DTF not sticking to my hat?
Failure to stick usually comes from one of five issues. First, a flat press on a structured cap leaves air gaps at the curved edges, so the corners never bond. Switch to a curved cap platen for full crown contact. Second, peeling the film while it is still warm breaks the adhesive before it sets. Wait the full 30 seconds and peel cold. Third, foam-front trucker panels scorch and shrink above 160°C, which weakens the glue. Lower the heat to 150°C and shorten the dwell to 12 seconds. Fourth, pressure that is too light gives the adhesive nothing to grab, so move to a firm setting near 40-60 psi. Fifth, old or generic film loses tack, and that is why Fujia Print uses Hengli virgin PET with a cold and hot peel coating refined over five years and tested per batch. After pressing, a 5-second post-press at 150°C with a cover sheet seals the edges. Most lift problems disappear once the platen, temperature, peel timing, and fresh film line up.
Is DTF or sublimation better for hats?
DTF is the better choice for the majority of hat orders because it is not limited by fabric color or type. Sublimation only dyes polyester, and only light or white polyester, so it cannot decorate the cotton, twill, and dark structured caps that most buyers want. DTF prints white and a full 13-color range, covers dark panels, and bends with the crown using a curved cap platen. Wash life differs by method: DTF holds 50-plus heavy washes at AATCC Grade 4-5 on cotton blends, while sublimation reaches 500-plus cycles but only on polyester. If your entire catalog is blank white polyester caps and you run large identical batches, sublimation is cheaper per unit. For small runs, dark caps, and structured styles, DTF wins on flexibility and coverage. Our DTF vs sublimation printer comparison details the cost and fabric trade-offs across garments, and the same logic applies to headwear.
Conclusion
DTF for hats comes down to three things: a curved cap platen, a cold-peel film, and the right temp for the panel. Start at 160°C for 15 seconds on cotton twill, drop to 150°C for foam and mesh, then cold peel after 30 seconds. For factory-direct DTF printers and free cap-print samples, contact Fujia Print.
