

Sublimation on metal fuses dye into a polymer-coated aluminum sheet at 350 to 400°F for 70 to 80 seconds, producing a scratch-resistant image that will not peel. You need a coated metal blank, a sublimation printer, and a heat press, and the blank must carry a polymer layer or the dye has nothing to grab.
Key Takeaways
- Metal sublimation only works on aluminum that carries a polymer coating. Bare steel or raw aluminum stays blank.
- Press settings run 350 to 400°F for 70 to 80 seconds, warmer and longer than fabric because the metal holds heat differently.
- The transfer prints in mirror mode on sublimation paper with sublimation ink, then presses face down onto the coated white side.
- Fujia builds the sublimation printers and inks this process relies on, with a 3,500 m² Guangzhou factory serving 50 plus countries since 2011.
- The next step is buying a few coated blanks, running one test tile, and locking your temperature once the color looks right.
What You’ll Need
- A polymer-coated aluminum blank. Most are bright white on the print side with a peel-off protective film.
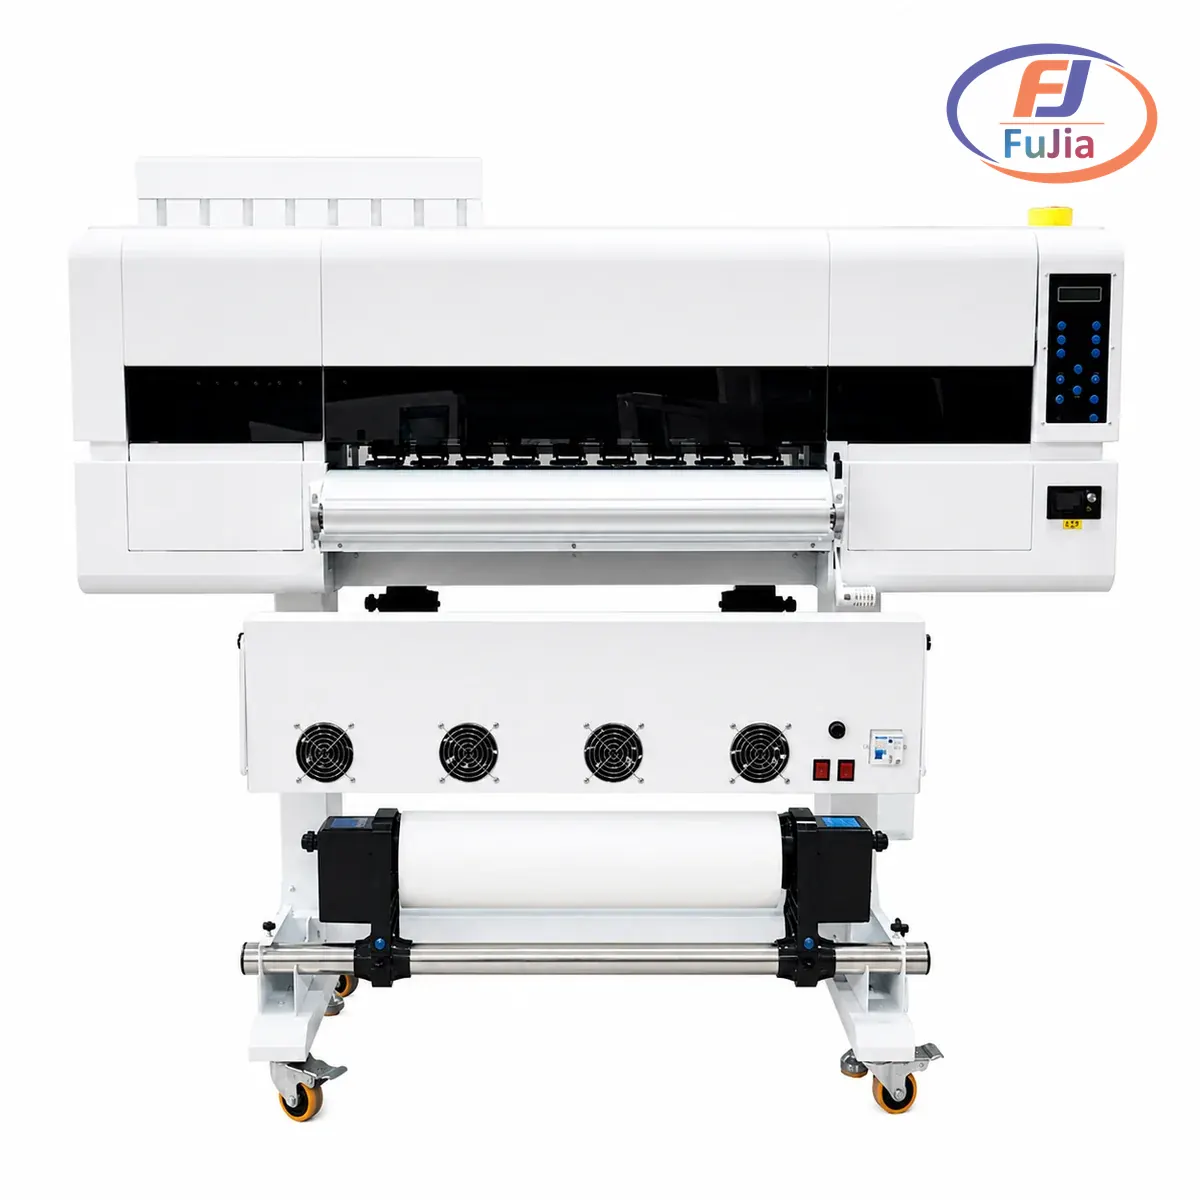
- A sublimation printer. Fujia’s A1 Sublimation 2-Head model runs two Epson printheads across a 650 mm width and prints the transfer at production scale.
- Sublimation ink and transfer paper. Fujia’s sublimation ink (SUI-STD) is formulated for polyester and coated hard substrates.
- A heat press with even platen pressure. A swing-away or clam press both work for flat metal.
- Heat tape and heat-resistant gloves. The metal gets hot and the transfer paper must stay put.
- A lint-free cloth. Oils from your hands block the dye, so the blank must be clean before pressing.
Sublimation dye turns from solid to gas under heat, then bonds into the coating as it cools. The dye-sublimation process is a phase change, not a surface print, which is why the result survives washing and scratching. The aluminum substrate gives the print its rigidity and gloss.
Step 1: Prepare the Coated Metal Blank
- Peel the protective film. The white print side ships with a clear plastic layer. Remove it so the coating is exposed.
- Wipe the surface. Use a lint-free cloth to remove fingerprints and dust. Skin oil creates a blank spot in the final image.
- Confirm the coating. Only polymer-coated blanks take dye. If the metal is bare, the press will leave it unchanged and you will waste the transfer.
A coated blank typically costs $2 to $8 depending on size, based on data from our customers across 50 plus countries, so test tiles are cheap to practice on.
Step 2: Print the Mirror Image
- Flip the artwork horizontally. Sublimation prints face down, so the design must be mirrored or text comes out backwards.
- Print on sublimation paper. Load the paper in the sublimation printer and use sublimation ink, not standard inkjet ink, which will not gasify.
- Let the ink dry for a minute. A damp sheet can steam under the press and shift the image.
The transfer quality tracks the printer. Fujia has shipped machines to 50 plus countries from a 3,500 m² Guangzhou factory with 35 staff and 2,000 machines built per year since 2011, so the transfer you print sits at the end of a real production chain.
Step 3: The Heat Press Process
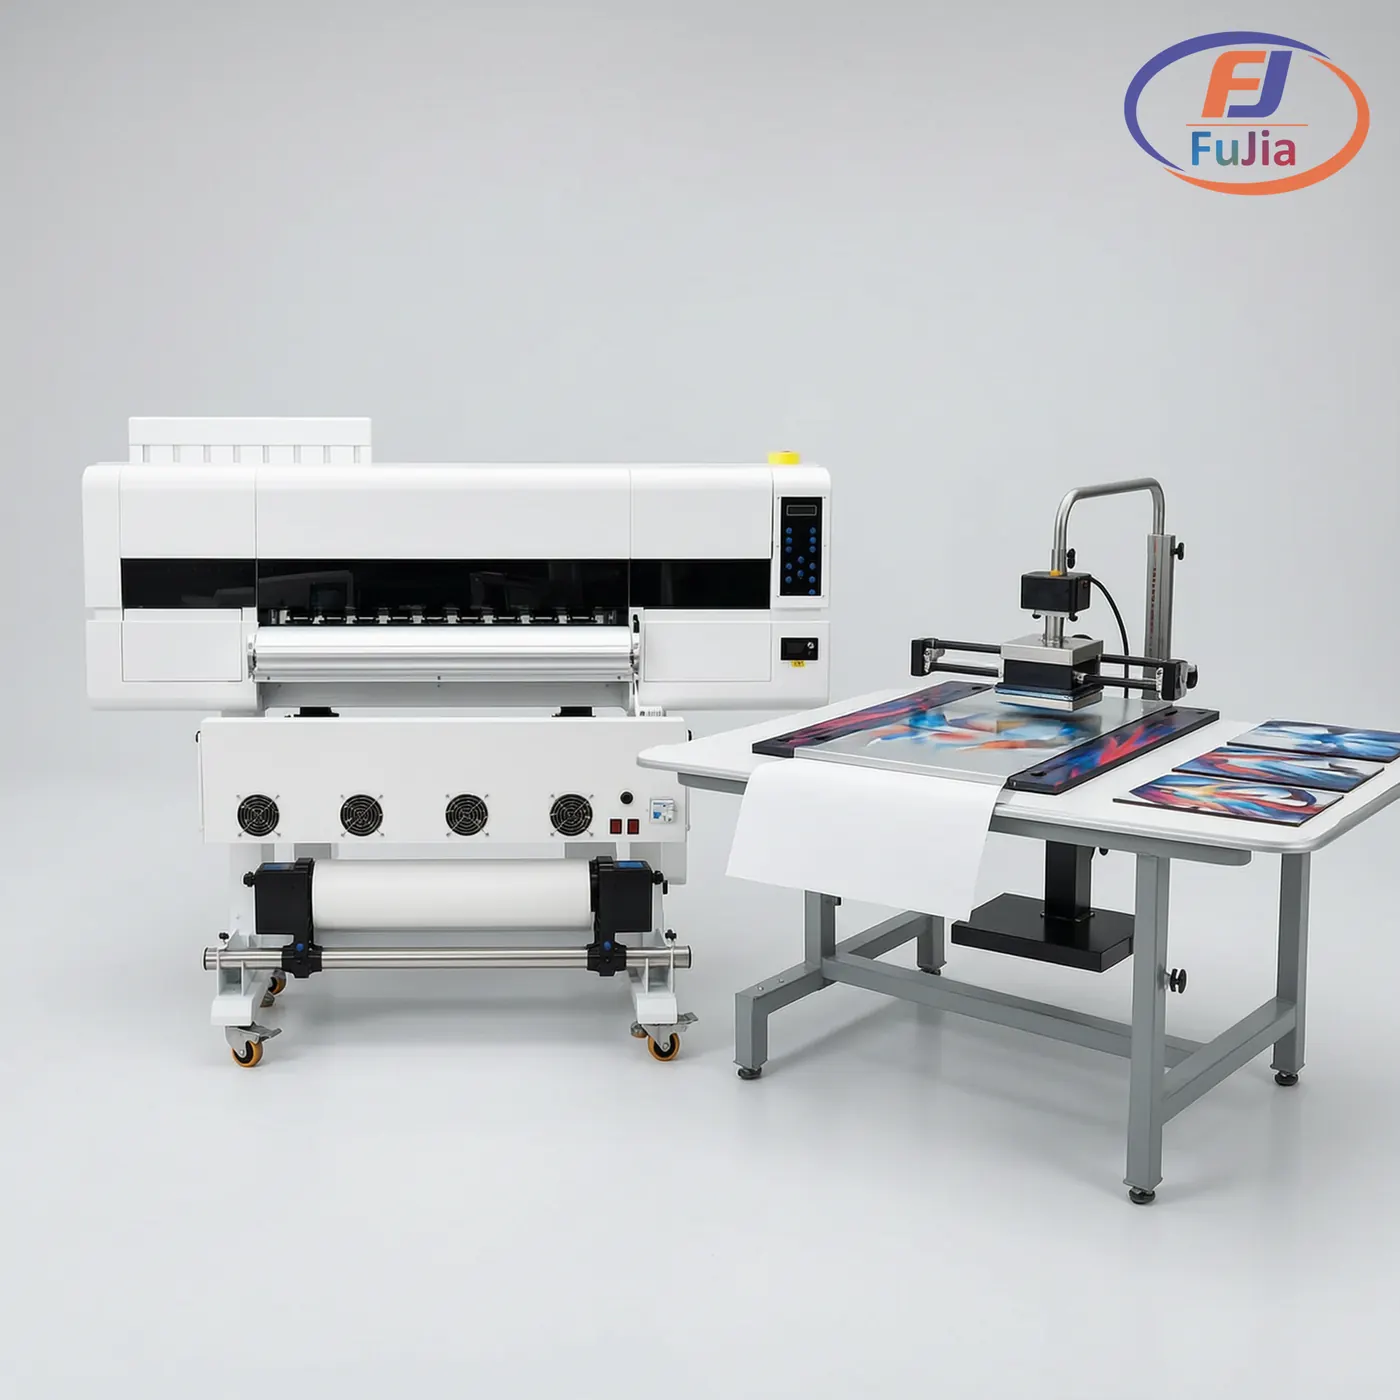
- Preheat the press and the blank. Warm the platen and preheat the metal to about 200°F so condensation cannot form under the paper.
- Tape the transfer down. Place the printed side against the coated face and secure the edges with heat tape. The tape must not cover the image area.
- Press at 350 to 400°F for 70 to 80 seconds. Close with firm, even pressure. Most guides land at 400°F for 80 seconds, while some plates use 350°F for 70 seconds.
- Open and peel while warm. Lift the paper while the metal is still hot so no residue sets on the coating.
Fabric sublimation runs cooler at 200°C for 45 to 60 seconds, and mug sublimation at 180°C for 60 seconds, so metal is its own setting. Standards bodies such as NIST publish the material reference data used to rate how heat-resistant coatings perform.
Step 4: Peel and Finish
- Remove the paper in one smooth pull. The image should be on the metal, not the paper.
- Inspect for gaps. A missed spot means the tape lifted or the blank was dirty. Note the cause before the next tile.
- Let the metal cool flat. The coating sets as it cools, so do not stack warm sheets.
A clean run leaves a glossy, full-bleed image with no feelable texture. One mug and drinkware brand we support moved to rigid sublimation and now runs 60 plus SKUs at 5,000 plus units per month at 70 percent margin, with finished pieces surviving 500 plus dishwasher cycles, a durability profile that carries over to coated metal.
Coated Blank Options & Cost

Coated blanks come in a few standard formats, and the price tracks the size and the grade of the polymer coating. The table below lists the common options our customers across 50 plus countries buy most.
| Blank type | Common size | Coating | Typical cost each |
|---|---|---|---|
| White coated aluminum sheet | 8 × 8 in | Standard polymer | $2 to $4 |
| White coated aluminum sheet | 11 × 17 in | Standard polymer | $5 to $8 |
| ChromaLuxe-style panel | 8 × 10 in | High-grade polymer | $8 to $15 |
| Pre-coated sublimation steel | 6 × 6 in | Polymer | $4 to $7 |
The white coated aluminum sheet is the workhorse because it gives the brightest color and the lowest scrap rate. A high-grade panel costs more but holds finer detail and a harder gloss, which matters for photo gifts. Stock up on sublimation transfer paper and a few test tiles, then run one tile before committing to a full sheet so you learn the exact temperature your press needs.
Common Mistakes to Avoid
- Using bare metal. Uncoated steel or aluminum will not take dye, so the press leaves a blank sheet.
- Pressing too cool. Below 350°F the dye never fully gases, and the image looks faint.
- Covering the image with tape. Adhesive on the print area blocks dye and leaves a hard line.
- Skipping the preheat. Moisture under the paper turns to steam and pushes the transfer out of register.
How long do you sublimate on metal?
The standard dwell is 70 to 80 seconds at 350 to 400°F, with 400°F for 80 seconds the most common setting among guides and 350°F for 70 seconds used on thinner plates. The time is longer than fabric sublimation, which presses at 200°C for 45 to 60 seconds, because the aluminum absorbs and holds heat differently and needs more dwell for the dye to fully gas into the coating. Preheat the blank to about 200°F first so no condensation forms under the paper. After the press opens, peel the transfer while the metal is still warm so no adhesive residue sets. If the image looks weak, add 5 to 10 seconds before changing temperature, since time is the safer first adjustment.
How do you print color on metal?
Color comes from the sublimation ink in the transfer, not from the metal, so you print a full-color mirror image on sublimation paper with a sublimation printer and press it onto the coated white side of the blank. The polymer coating is what receives the dye, so a bright white coated blank gives the most vivid result, while a clear or tinted coating mutes the colors. Fujia’s sublimation ink (SUI-STD) is built for this and prints the transfer on the A1 Sublimation 2-Head model across its 650 mm width. Keep the artwork at 300 DPI or higher so fine gradients stay smooth on the metal. The phase-change process fuses the color into the coating, which is why the finished print shows rich color and survives scratching rather than sitting on the surface.
How to coat metal for sublimation?
You do not coat metal yourself for production work. Buy blanks that already carry a factory-applied polymer layer, because a home coating rarely bonds well enough to survive the heat and will peel or fade. The commercial coating is a thin polymer film cured onto the aluminum, and the dye gases into that film during the press. If you experiment, a polyester-based spray or a dedicated sublimation coating can work on small parts, but test a tile first because most fail at 350 to 400°F. For a real shop, buying pre-coated aluminum from a sublimation supplier is cheaper than the scrap rate of failed homemade coatings. The blank must be clean and oil-free, because the coating only grabs dye where the surface is bare polymer.
Can you sublimate onto steel?
Bare steel will not take sublimation because it has no polymer coating for the dye to bond into, so a press leaves it unchanged. You can sublimate onto steel only if it carries a sublimation-ready polymer coating, either a pre-coated steel blank or a treatment applied by the supplier. Most rigid sublimation blanks are aluminum rather than steel because aluminum is lighter, flatter, and coats more evenly, which is why the market standard is coated aluminum sheets and plates. If a product is sold as sublimation steel, confirm the coating before buying, because uncoated steel signs will waste your transfer. When in doubt, start with a coated aluminum blank, which is the reliable choice for metal sublimation.
Conclusion
For factory-direct sublimation printers, inks, and the consumables that make metal sublimation work, see the Fujia Print sublimation lineup.
