

Sublimation heat tape is a heat-resistant adhesive tape that holds your transfer paper or blank steady on the heat press so the image does not shift during the 200°C, 45 to 60 second press. A good roll resists 400 to 480°F, leaves no residue, and costs between $1.59 and $9.99 depending on width and brand.
Key Takeaways
- Sublimation heat tape is polyimide film with silicone adhesive, built to survive 200°C press temperatures without melting or leaving marks.
- Most rolls are 72 yards long and sell for $1.59 to $9.99, with skinny 0.375 inch and wide 0.78 inch widths covering nearly every blank.
- Temperature rating matters more than price: look for 400°F or higher if you press mugs, tumblers, or metal at full heat.
- Fujia builds the sublimation printers and consumables this tape supports, with a 3,500 m² Guangzhou factory serving 50 plus countries since 2011.
- The next step is matching width to your blank, then keeping one residue-free roll in the press room at all times.
What Sublimation Heat Tape Actually Does
Sublimation heat tape is a narrow strip of polyimide film coated with a silicone-based pressure-sensitive adhesive. Polyimide is the same amber-colored film used in flexible circuits, and it stays stable from minus 269°C up to roughly 400 to 500°C. That heat range is why it holds a transfer in place while a press climbs to 200°C and keeps the paper from creeping as the dye turns to gas.
The tape does one job. It anchors the edges of your printed transfer paper to the blank so the artwork cannot slide a fraction of a millimeter during the dwell time. A shift of even 1 mm ruins a mug or a panel. Two widths cover most work: a skinny 0.375 inch roll for tight curves on tumblers, and a wide 0.78 inch roll for flat panels and fabric where you need more grip.
The adhesive is the second half of the story. A silicone formula releases cleanly after the press cools, which is what lets a quality roll claim “no residue” on polyester, ceramic, and metal. Cheap paper masking tape fails here because its adhesive softens near 100°C and bleeds onto the blank.
Where Heat Tape Fits in the Sublimation Workflow
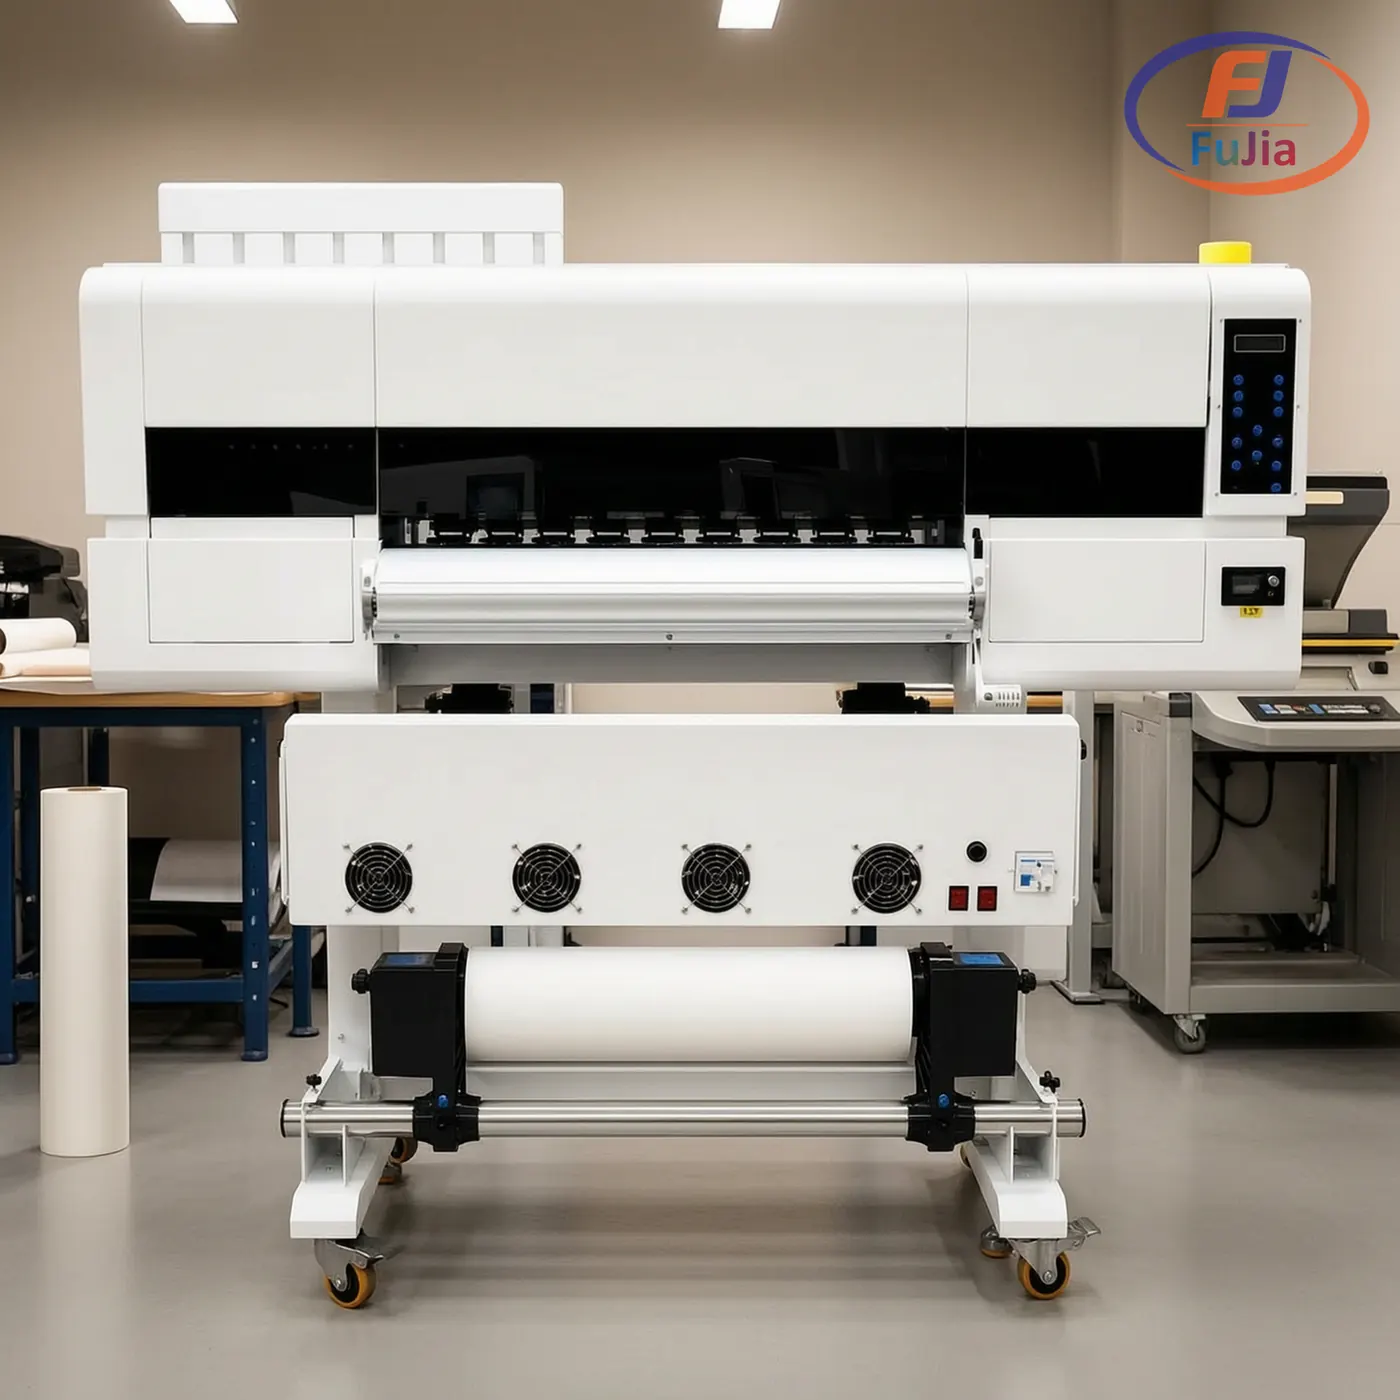
Heat tape is the last physical step before the press closes. At Fujia we build the sublimation printers that print the design, the sublimation transfer paper that carries the dye, and the heat tape that locks it down. Our A1 Sublimation 2-Head model runs two Epson printheads across a 650 mm width, and the transfer it outputs still needs tape to stay put on the blank.
The standard sublimation press window is 200°C for 45 to 60 seconds with a hot peel, and the fabric must be at least 60 percent polyester for the dye to bond. One sports-bag brand we support moved to 60 cm sublimation with a roll heat press and doubled its order value with zero peeling warranty claims, a result that comes from tight registration and tape that does not let the panel drift. Fujia has shipped machines to 50 plus countries from a 3,500 m² Guangzhou factory with 35 staff and 2,000 machines built per year since 2011, so the tape you use sits at the end of a real production chain, not a hobby setup.
Mug and tumbler work is where tape earns its keep. Those blanks are round, and a flat sheet of transfer paper wants to lift at the seam. A 0.375 inch strip across the overlap is the difference between a clean wrap and a ghosted line.
Widths and Materials: Skinny vs Wide
Width is the first buying decision, and the two standard sizes handle almost every blank. The skinny 0.375 inch roll is for curves: tumbler seams, mug handles, and small gift items where a wide strip would show past the bleed edge. The wide 0.78 inch roll is for flat panels, throw pillows, and fabric where a broader anchor prevents curl at the corners.
Both widths share the same polyimide base and silicone adhesive. The film thickness is usually 0.04 to 0.06 mm, thin enough that it does not add a visible gap under the press but thick enough to peel in one piece. Most rolls ship at 72 yards, which is about 66 meters, so a single roll covers a long run before you reorder.
Color is a practical cue. Clear tape lets you see the transfer edge underneath, which helps line up a repeat pattern. Blue or amber tape is easier to spot on a busy bench but can leave a faint tint if a shred stays on the blank, so clear is the safer default for light substrates.
Temperature Ratings: How Much Heat It Takes
The number that separates a working roll from a messy one is its temperature rating. Three representative products show the spread. Artesprix lists 400°F, Heat Press Nation rates its roll at 425°F, and Craft Express pushes to 480°F without melting or shrinking. Your press runs at 200°C, which is 392°F, so any of these clears the bar, but a higher rating gives headroom for mug presses at 180°C for 60 seconds and for metal panels that sit longer.
| Brand / Product | Rated temperature | Width options | Roll length |
|---|---|---|---|
| Artesprix Heat Tape | 400°F | standard | 72 yards class |
| Heat Press Nation Heat Tape | 425°F | standard | 72 yards |
| Craft Express Heat Resistant Tape | 480°F | 0.375 in / 0.78 in | per pack |
The lesson is simple. If you only press fabric at 200°C, a 400°F roll is enough. If you run mugs, tumblers, and metal at the top of the range, buy the 425 to 480°F roll so the adhesive never reaches its limit during a long production day. Adhesive tapes are rated under standards maintained by bodies such as NIST, which publishes the U.S. reference data for material properties used to grade heat-resistant films.
How to Apply Heat Tape Before Pressing
Applying the tape takes under a minute and prevents the most common sublimation defect: a shifted transfer. Follow the same order every time so the result is repeatable.
- Cut a 2 to 3 inch strip. Tear or snip a piece long enough to span the transfer edge plus a little overlap, usually 50 to 75 mm for a mug and 75 to 100 mm for a panel.
- Lay the transfer on the blank. Position the printed side against the substrate, then press the tape over the paper edge, not the image area, so adhesive never touches the dye.
- Smooth from the center outward. Run a finger from the middle to each end to push out air, which stops the paper from lifting where a bubble sits.
- Press at 200°C for 45 to 60 seconds. Close the press, hold the listed dwell, then open and peel the tape while the blank is still warm so no residue sets.
A dispenser helps on high volume because it keeps the roll from sticking to itself and gives a clean straight tear. One roll lasts a long time: based on data from our customers across 50 plus countries, a 72 yard roll typically covers 40 to 120 projects depending on blank size and how much edge you cover.
What a Roll Costs (and How Long It Lasts)
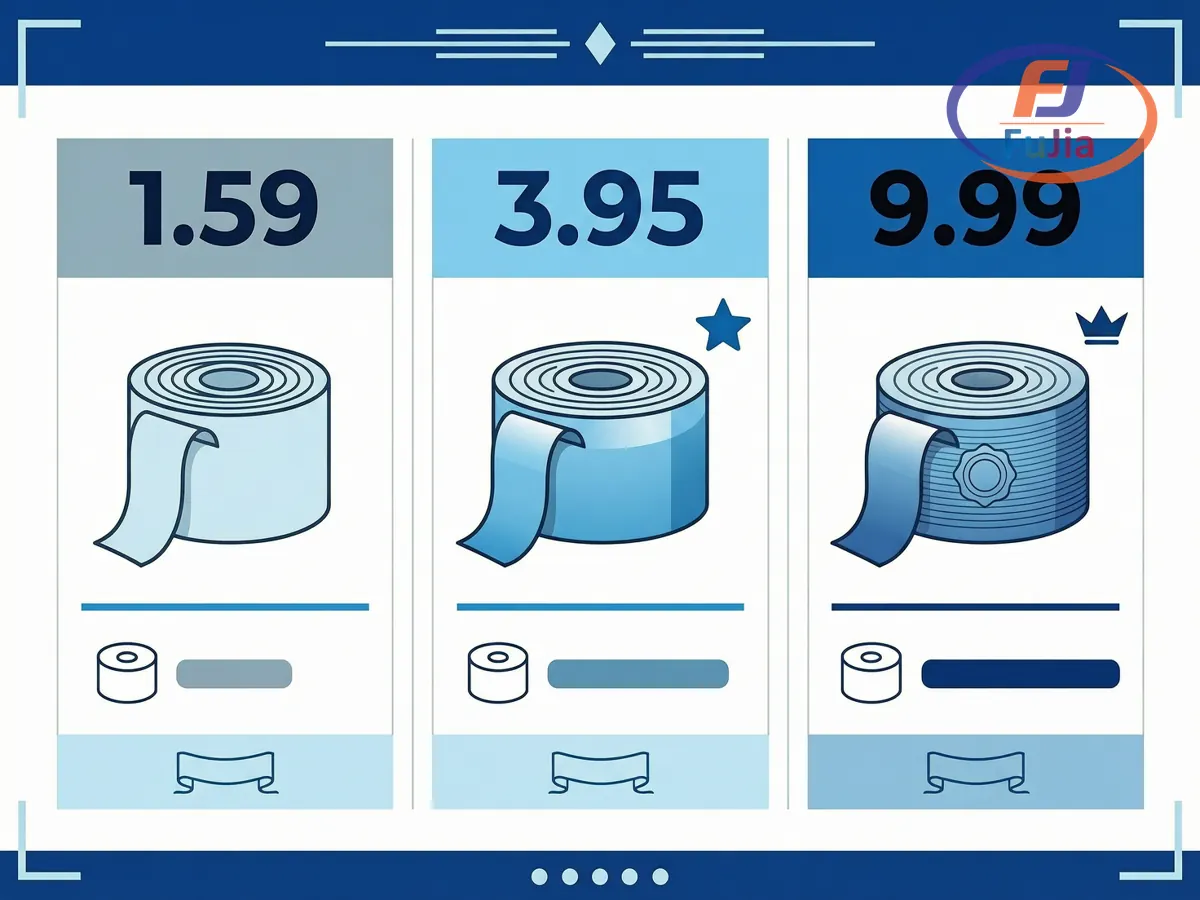
Sublimation heat tape is a low-cost supply, and the price tracks width, rating, and brand rather than performance. The range runs from $1.59 for a basic clear roll up to $9.99 for a wide, high-temperature pack, with most named brands sitting at $3.95 to $8.99 for a 72 yard roll.
| Product | Price | Width | Notes |
|---|---|---|---|
| Clear Transparent Sublimation Heat Tape | $1.59 | standard | budget clear roll |
| MakerFlo Heat Resistant Tape | $3.95 | 0.375 in / 0.78 in | residue-free, 6-roll pack option |
| Heat Press Nation Heat Tape | $8.99 | standard | 425°F, 72 yards, 4.81 stars |
| Craft Express Wide Tape | $9.99 | 0.375 in / 0.78 in | 480°F rated |
The cost per project is tiny. At $3.95 for 72 yards and roughly 0.5 yard used per mug, that is about 140 mugs per roll, so even a small shop spends only a few cents of tape per item. Buy the wider, higher-rated roll once and you avoid the false economy of a cheap tape that leaves marks you then have to reprint.
How to Choose the Right Roll
Start with residue-free as a hard requirement, because a roll that leaves a line forces a reprint and wastes a blank that cost more than the tape. Confirm the temperature rating clears 400°F, then match width to your top blank: skinny for tumblers and mugs, wide for fabric and panels. Clear film is the safe default unless you need to see the tape on a dark bench.
Buy from a supplier that also understands the full workflow. Fujia sells the sublimation printer, the transfer paper, the ink, and the after-sales support as one system, backed by a 2 year warranty and parts dispatched within 48 hours. A tape that is right for the press is only half the equation. The other half is a machine and consumables tuned to print transfers the tape can hold without drift.
What can I use instead of heat tape for sublimation?
Plain paper masking tape and painter’s tape will not work because their adhesive softens near 100°C and bleeds onto the blank, so they are ruled out for any press above 180°C. For flat items like fabric panels you can sometimes skip tape entirely if the transfer paper is large enough to clip under the top platen, but that trick fails on round blanks. Some decorators use heat-resistant silicone bands on tumblers, and those hold the seam without adhesive, though they only fit specific diameters. Polyimide heat tape remains the standard because it survives 400°C, releases cleanly, and costs under $4 for a 72 yard roll. If you press mugs or curved gifts regularly, keep a skinny 0.375 inch roll as your default and reach for bands only as a supplement.
What is the best heat tape for sublimation?
The best roll is the one that matches your blank and your press heat, not the most expensive option. Look for three things. First, a residue-free claim backed by a clear polyimide film, because that prevents the faint line a cheap tape leaves. Second, a temperature rating of at least 400°F, with 425 to 480°F better if you run mugs at 180°C for 60 seconds or metal panels that sit longer. Third, the right width: 0.375 inch for tumblers and mugs, 0.78 inch for panels and fabric. In testing, Artesprix rates 400°F, Heat Press Nation 425°F at $8.99 for 72 yards, and Craft Express reaches 480°F at $9.99. MakerFlo sits at $3.95 with both widths and a residue-free claim. For most shops the $3.95 to $8.99 range covers everything, and buying one wide high-temperature roll avoids the false saving of a tape that marks your blanks.
How to use heat transfer tape for sublimation?
Start by cutting a 2 to 3 inch strip, which is 50 to 75 mm for a mug or 75 to 100 mm for a panel. Lay the printed transfer face down on the blank, then place the tape over the paper edge rather than the image, since adhesive must never touch the dye side. Smooth from the center outward to push out air bubbles, which is where paper lifts if you skip it. Press at 200°C for 45 to 60 seconds with a hot peel, then open and pull the tape while the blank is still warm so no adhesive sets. A dispenser keeps the roll from tangling and gives a straight tear on high volume. One 72 yard roll covers roughly 40 to 120 projects based on data from our customers across 50 plus countries, so the per-item tape cost stays under a few cents. Repeat the same order every time and the transfer will not shift.
Can I use Cricut heat tape for sublimation?
Cricut’s standard heat tape is built for iron-on vinyl and HTV, not for sublimation, so it is not a safe swap. Those tapes are rated for the lower temperatures of heat-transfer vinyl application, often around 150 to 165°C, and they can soften, leave a sticky residue, or even melt at the 200°C a sublimation press needs for 45 to 60 seconds. The dye gas at that temperature also reaches the adhesive, which is why a polyimide tape rated to 400°F or higher is the correct choice. If you already own Cricut tape for HTV projects, keep it for those and buy a separate clear sublimation heat tape for dye work. The small price difference, about $3.95 for a 72 yard roll, is nothing next to the cost of reprinting a ruined blank.
Conclusion
For factory-direct sublimation printers, transfer paper, and the consumables that hold your prints in place, see the Fujia Print sublimation lineup.
