

DTF printing software is the combination of design tools and a RIP (Raster Image Processor) that converts artwork into the print-ready files a DTF printer needs. Most setups pair Adobe Illustrator or Affinity Designer for artwork with a dedicated RIP such as AcroRIP, CADlink Digital Factory, or Caldera to control ink, color, and white-layer output.
Key Takeaways
- DTF printing software means two layers: a design program for artwork and a RIP that drives the printer and builds the white underbase.
- Free options handle simple jobs on white shirts, but a dedicated RIP is required for accurate white ink, color management, and production speed.
- AcroRIP sells for $222.50 to $494.99, while pro RIPs like CADlink Digital Factory and Caldera add automation and cost more.
- Six RIP programs lead buyer comparisons: Fiery Digital Factory, AcroRIP, DecoNetwork, Caldera, Roland VersaWorks, and Mimaki RasterLink.
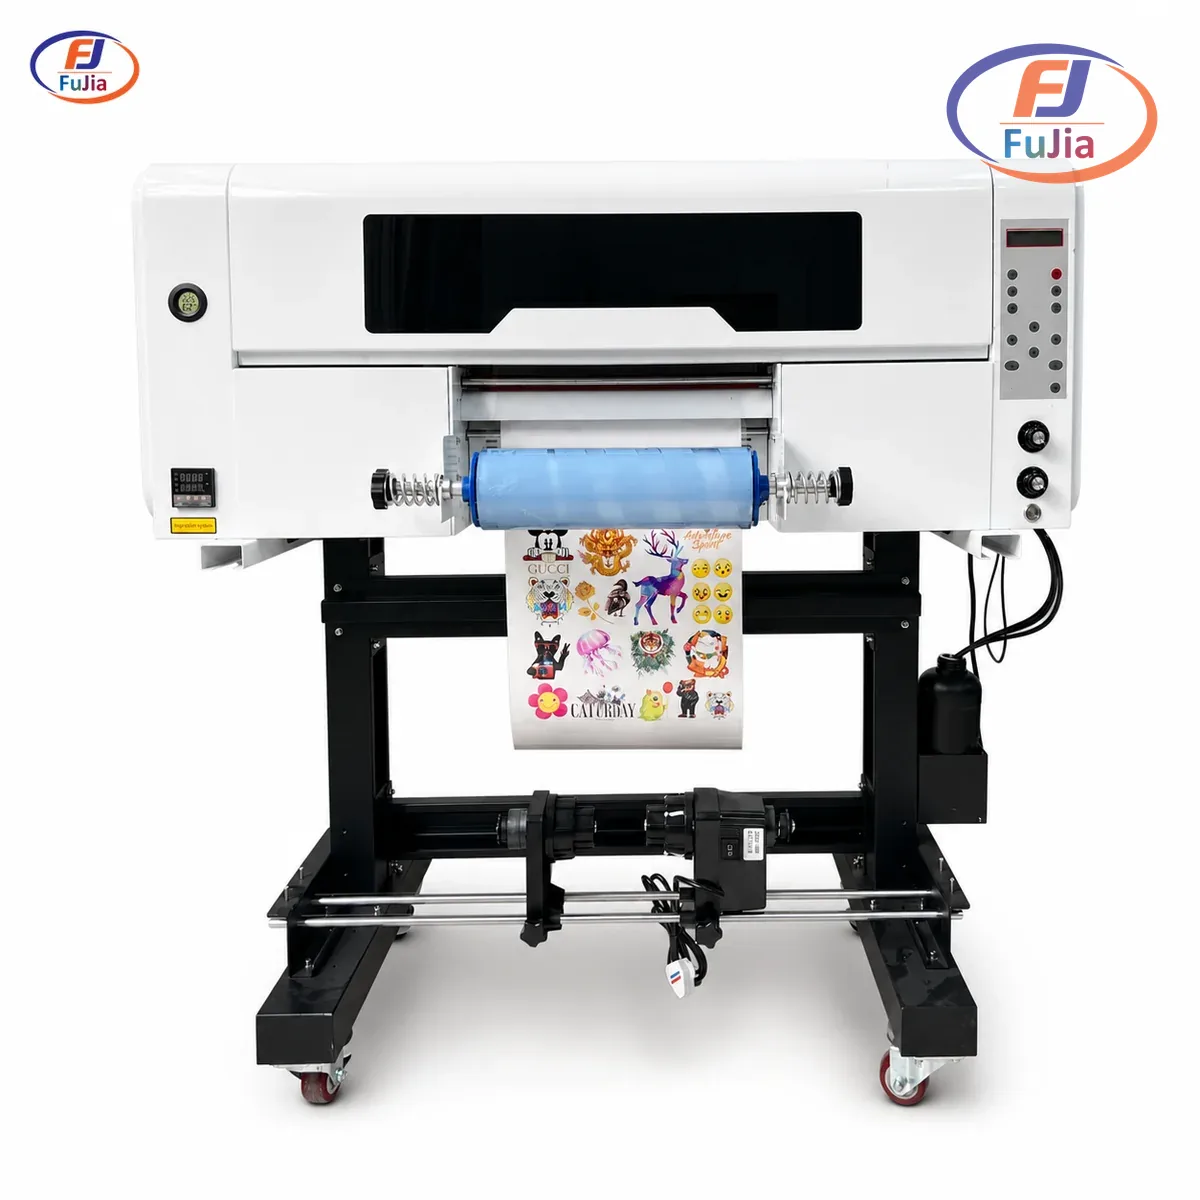
- Choose the software after the printer. Fujia Print builds DTF printers that ship with Maintop, Photoprint, Flexi, or RIIN RIP pre-installed.
What DTF Printing Software Actually Does
DTF printing software works in two layers. The first layer is design software. Adobe Illustrator and Affinity Designer create vector artwork at 300 DPI in CMYK color, the standard for film output. The second layer is the RIP. The RIP reads the design, builds the white underbase, manages color profiles, and sends precise droplet commands to the printhead.
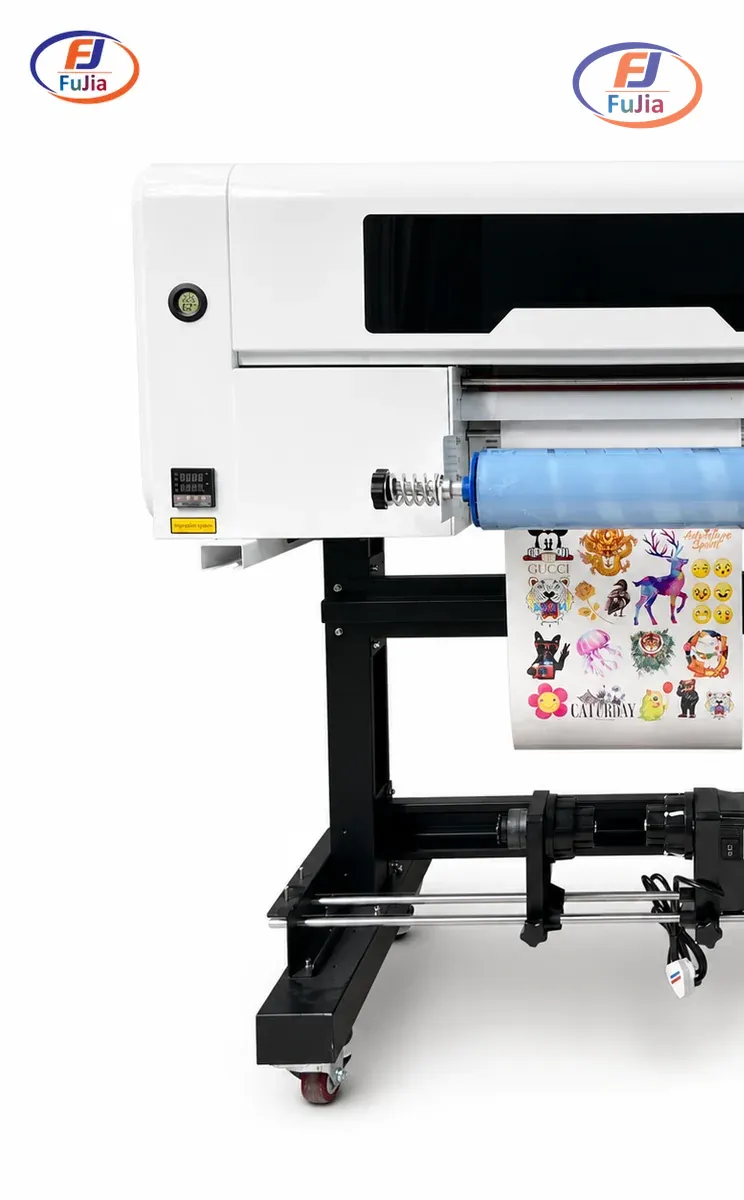
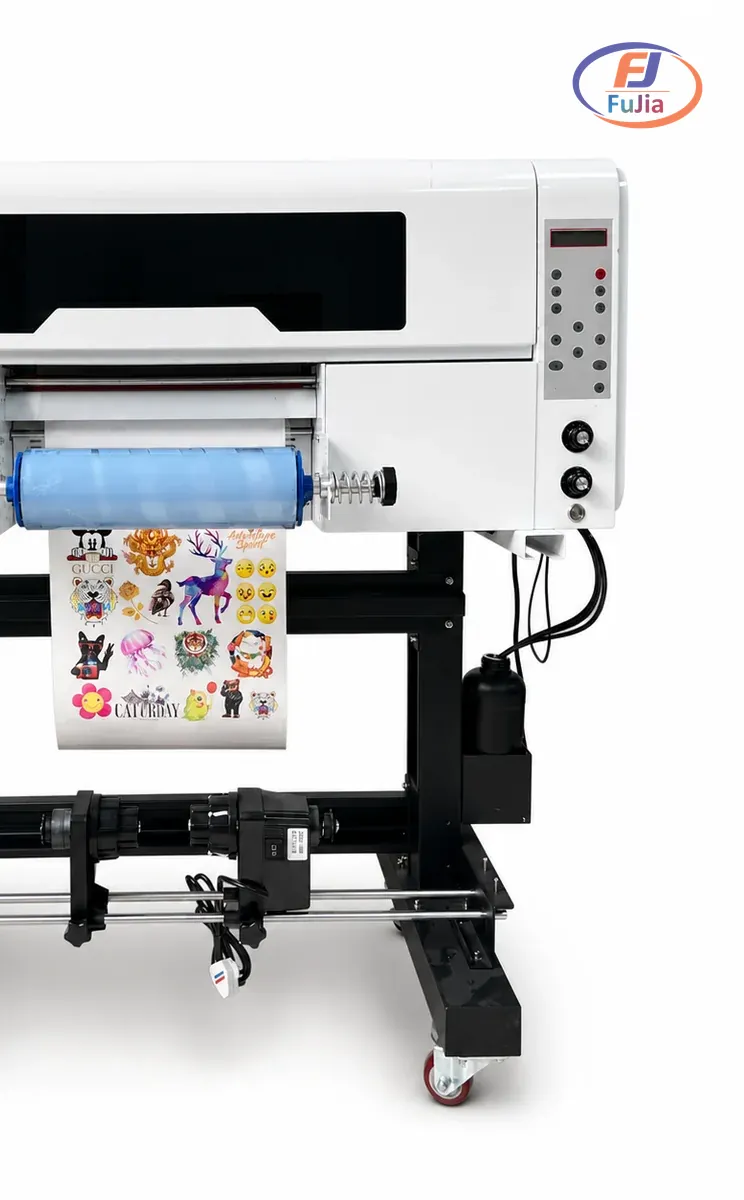
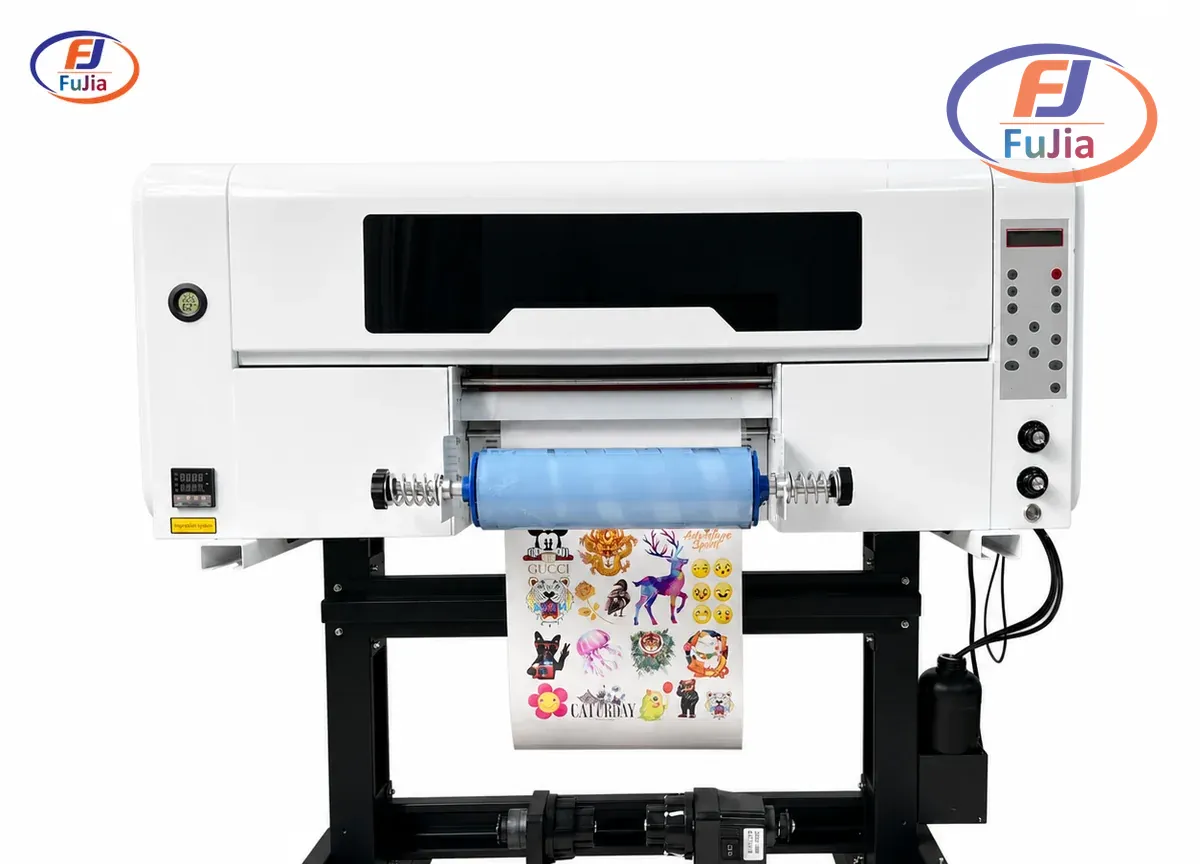
Fujia Print builds DTF printers around a transmission stack most buyers never see. Each Fujia machine uses a Honson mainboard, a Leadshine servo motor, and THK silent guide rails paired with an Epson i3200 printhead. That hardware combination holds alignment through 12-hour continuous runs without quality drift, which is why the bundled RIP matters as much as the design file.
The DTF printer lineup from Fujia Print ships with Maintop (蒙泰), Photoprint (幻影), Flexi, or RIIN RIP pre-installed. The RIP controls white ink circulation, the CMYK plus white plus LC/LM channels, and the 720×2400 dpi resolution at 8-pass mode on the A1 4-head model. Without a RIP, a plain inkjet driver cannot place the white layer or hold the 8-color separation.
Free vs Paid DTF RIP Software
Free software covers the basics but stops at the hard part. A regular inkjet printer plus DTF film and DTF powder can print simple designs on white shirts without a dedicated RIP, according to makers on r/SCREENPRINTING. The limit is clear. No white underbase means no dark garments, and color control stays manual.
Paid RIP software removes those limits. AcroRIP lists at $222.50 to $494.99 and handles the white layer, halftone knockout, and CMYK separation. Higher-end tools add automation. CADlink Digital Factory prepares files, manages color, and automates production (source: cadlink.com). Caldera Direct-to-Film runs on macOS and Windows and is often called the best DTF software for Mac users (source: caldera.com).
| Option | Cost | What it handles | Best for |
|---|---|---|---|
| Built-in printer driver | $0 | Sends a file, no white layer | Plain inkjet plus DTF film on white shirts only |
| Free design trial | $0 for 7 to 30 days | Vector artwork at 300 DPI in CMYK | Learning the workflow |
| AcroRIP | $222.50 to $494.99 | White underbase, color control, CMYK | Small shops on Epson-based DTF |
| CADlink Digital Factory | Paid, quote-based | File prep, color management, automation | High-volume production |
| Caldera Direct-to-Film | Paid, macOS plus Windows | Color RIP, strong Mac support | Mac-based studios |
Free design trials from Adobe Illustrator and Affinity Designer let you learn the workflow before buying a RIP. The trial window runs 7 to 30 days depending on the program.
The 6 RIP Programs Buyers Compare
The six RIP programs buyers compare most often are Fiery Digital Factory, AcroRIP, DecoNetwork, Caldera, Roland VersaWorks, and Mimaki RasterLink (source: deconetwork.com). Each serves a different buyer.
| RIP program | Maker | Platform | Notes |
|---|---|---|---|
| Fiery Digital Factory | CADlink | Windows | File prep, color, automation |
| AcroRIP | AcroRIP | Windows | Low cost, $222.50 to $494.99 |
| DecoNetwork | DecoNetwork | Cloud and web | Business plus production suite |
| Caldera Direct-to-Film | Caldera | macOS, Windows | Strong Mac support |
| Roland VersaWorks | Roland | Windows | Bundled with Roland printers |
| Mimaki RasterLink | Mimaki | Windows | Bundled with Mimaki printers |
Caldera Direct-to-Film runs on macOS and Windows and is widely called the best DTF software for Mac (source: caldera.com). Roland VersaWorks and Mimaki RasterLink ship with their respective printer brands and lock to that hardware.
DecoNetwork adds a cloud production suite on top of RIP functions, useful for shops that also sell online (source: deconetwork.com). Pick the RIP after the printer, because some RIPs bind to specific brands.
How to Set Up DTF Printing Software
Setting up DTF printing software takes three steps after the printer arrives. Fujia Print ships machines with the RIP pre-loaded, and remote onboarding covers hardware, RIP plus ICC, and the first clean print in three days.
- Install the design program. Load Adobe Illustrator or Affinity Designer and set new files to 300 DPI in CMYK color.
- Activate the RIP. Open Maintop, Photoprint, Flexi, or RIIN and load the ICC profile for your film and ink. Fujia Print supplies the profile for its 13-color DTF ink system.
- Run a nozzle check. Print a test pattern and confirm all CMYK, white, LC, and LM channels fire cleanly before a real job.
The 13-color DTF ink system from Fujia Print covers CMYK plus LC, LM, orange, red, green, and blue. The ICC profile keeps those colors accurate across film batches.
Printing Your Own DTF Transfers Step by Step
Printing your own DTF transfers at home follows a fixed workflow from design to heat press. The software controls every digital step, and the powder plus heat press finish the job.
- Build the artwork. Create the design at 300 DPI in CMYK using Adobe Illustrator or Affinity Designer.
- Send to the RIP. The RIP adds the white underbase, sets the 720×2400 dpi resolution at 8-pass, and queues the print.
- Print the film. The Epson i3200 printhead lays CMYK plus white onto DTF transfer film.
- Apply powder and cure. Coat the wet ink with hot-melt adhesive powder, then cure.
- Heat press and peel. Press at 160°C for 15 seconds, then cold peel.
A beginner setup pairs the software with a desktop model such as the one covered in our DTF printer for beginners guide. The full digital path stays the same whether the printer is A3 desktop or A1 industrial.
Is there a free DTF software?
Yes, free paths exist, but each has a limit. The cheapest route uses a regular inkjet printer with DTF film and DTF powder, which prints simple designs on white shirts without a dedicated RIP, as makers on r/SCREENPRINTING note. That setup skips the white underbase, so it only works on light garments and color stays manual. Design software also offers free trials. Adobe Illustrator and Affinity Designer both give 7 to 30 days of full access, enough to learn vector artwork at 300 DPI in CMYK color. What you cannot get free is accurate white ink and production color control. A dedicated RIP such as AcroRIP, listed at $222.50 to $494.99, is the paid step that adds the white layer and CMYK separation. For a hobbyist printing light shirts, free tools work. For dark garments or paying customers, a paid RIP makes quality repeatable.
What is the best DTF software?
The best DTF software depends on your printer and operating system, not one winner. Mac users should start with Caldera Direct-to-Film, which runs on macOS and Windows and is widely rated the strongest Mac option. Budget buyers with an Epson-based printer get the most value from AcroRIP, priced $222.50 to $494.99, because it handles the white underbase and CMYK separation cheaply. High-volume shops needing file prep, color management, and automation should look at CADlink Digital Factory, also sold as Fiery Digital Factory. Roland or Mimaki owners should use the bundled VersaWorks or RasterLink RIP, since those programs lock to brand hardware. DecoNetwork fits shops that sell online, adding a cloud production suite on top of RIP functions. Pick the printer first, then match the RIP to that hardware and your OS.
How can I print my own DTF transfers?
You can print your own DTF transfers at home by following a five-step workflow from software to heat press. First, build the artwork in Adobe Illustrator or Affinity Designer at 300 DPI in CMYK color. Second, send the file to a RIP, which adds the white underbase, sets 720×2400 dpi at 8-pass, and queues the job. Third, print onto DTF transfer film using an Epson i3200 printhead that lays CMYK plus white ink. Fourth, coat the wet print with hot-melt adhesive powder and cure it. Fifth, press the film onto the garment at 160°C for 15 seconds, then cold peel. The software controls steps one through three, while powder, cure, and press finish the rest. A desktop DTF printer with bundled RIP makes this workflow approachable for a first-time user.
Conclusion
For factory-direct DTF printer pricing and free sample inquiries, contact Fujia Print.
Sources
- Caldera Direct-to-Film: backs the macOS RIP and Mac support claims.
- CADlink Digital Factory: backs the file preparation and production automation claims.
- DecoNetwork Top 6 RIP: backs the six-program RIP comparison list.
- Adobe Illustrator: backs the 300 DPI CMYK design workflow.
- Affinity Designer: backs the alternative design program option.
