

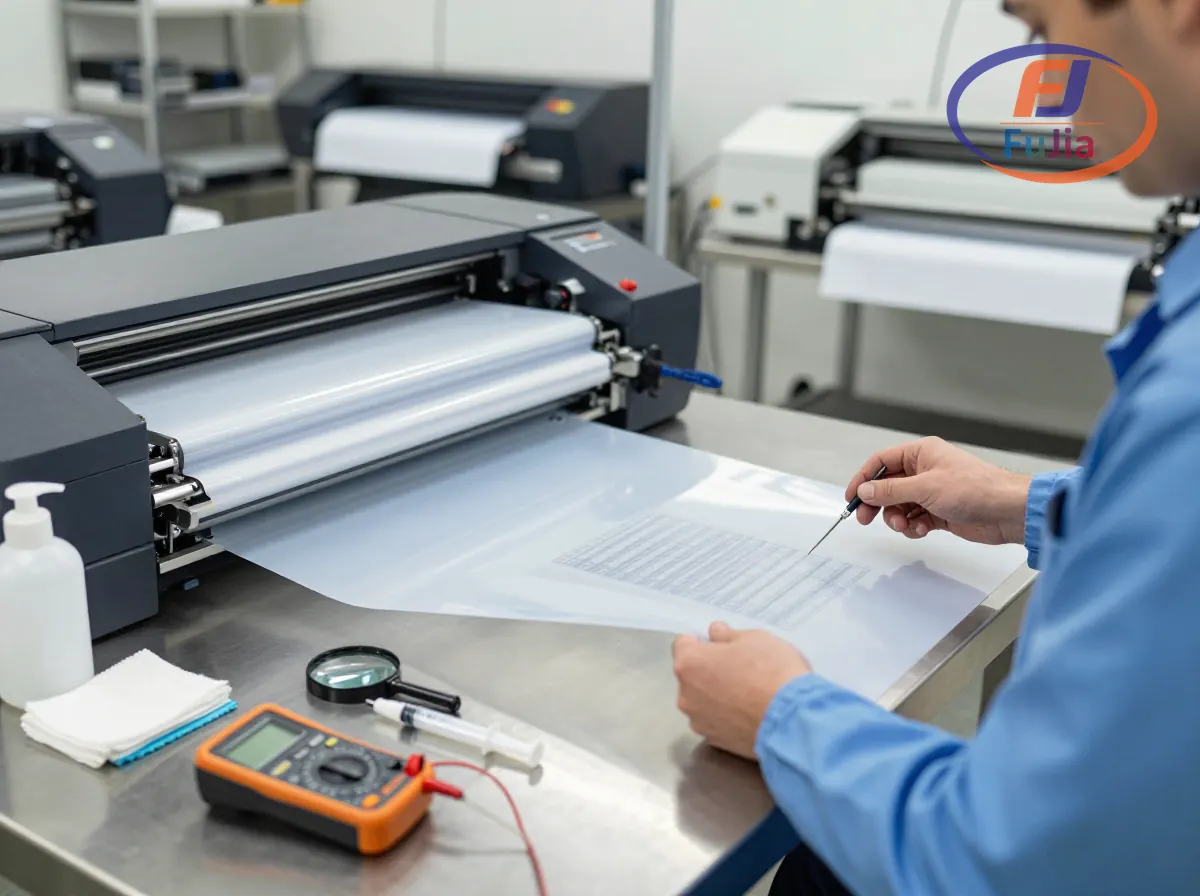
DTF printer troubleshooting follows a systematic sequence: identify the symptom (missing nozzles, banding, color shift, poor adhesion), isolate the cause (ink system, mechanical, environmental, or software), and apply the targeted fix. The top 10 DTF printing problems account for 95% of production downtime, with white ink clogging representing the single most common issue because titanium dioxide pigment settles at 4.2 g/cm3 density, blocking printhead nozzles within 48-72 hours of inactivity without automatic circulation.
Key Takeaways
- White ink clogging causes 60% of all DTF production downtime. The root cause is titanium dioxide pigment settling at 4.2 g/cm3 density, more than four times denser than water.
- Banding (horizontal lines) is caused by clogged nozzles 80% of the time, dirty encoder strips 15%, and incorrect RIP settings 5%.
- Poor transfer adhesion traces to heat press settings (temperature, time, pressure) in 70% of cases, not the printer itself.
- Maximum 3 cleaning cycles per session before switching to manual cleaning. Running more cycles wastes ink and stresses the printhead without improving results.
- Fujia Print DTF printers include automatic white ink circulation and sealed moisturizing systems that prevent 70-80% of common clogging issues before they require troubleshooting.
Problem 1: White Ink Missing or Not Firing
For a complete overview, see the Fujia DTF printer lineup guide.
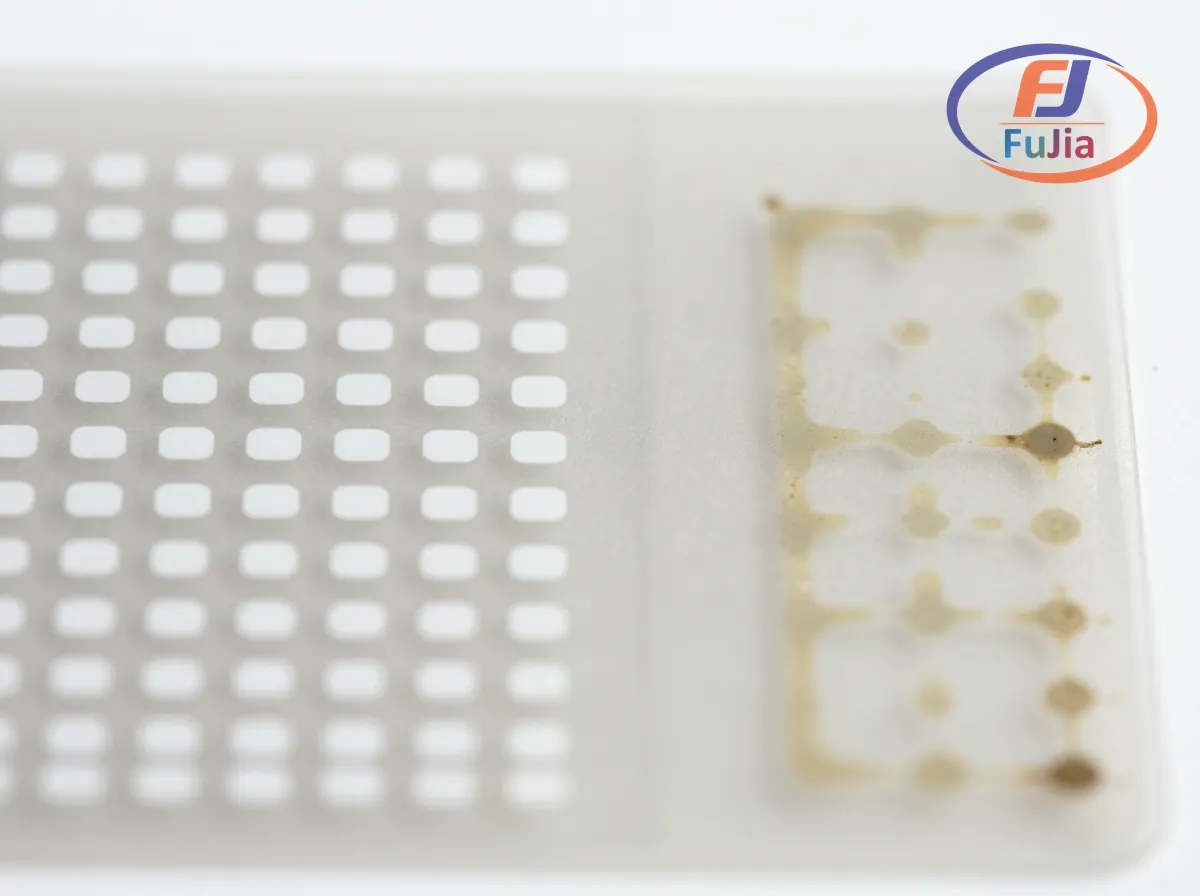
Symptoms: Nozzle check shows gaps in white channels. White ink appears translucent or gray on prints. Colors look dull on dark garments because the white underbase is missing.
Root causes and fixes:
| Cause | How to Verify | Fix | Time |
|---|---|---|---|
| TiO2 pigment settled in ink lines | Inspect dampers for visible sediment | Shake white ink bottle 60 seconds. Run 2 cleaning cycles. Check nozzle pattern. | 5 minutes |
| Air in ink lines | Look for bubbles in transparent damper bodies | Prime the ink system using syringe pump. Replace damper if bubbles persist. | 15 minutes |
| Dried ink in printhead channels | Printer sat unused 7+ days without circulation | Place cleaning solution on capping station. Park printhead overnight. Run cleaning cycles next morning. | 8-12 hours |
| Damper clogged with sediment | Damper appears discolored or opaque | Replace damper ($10-15). Prime new damper before printing. | 10 minutes |
| Wrong RIP white ink settings | Nozzle check is complete but white looks gray | Check white ink coverage setting. Most DTF prints need 80-100% white ink density. | 5 minutes |
Research published in PubMed demonstrates that nanoparticle deposition on printhead surfaces promotes air clogging that cleaning cycles cannot remove. When nanoparticles adsorb onto the interior printhead surfaces, they trap air bubbles that reform immediately after cleaning. This means printers that repeatedly clog in the same channels likely have particle deposition that requires manual printhead flushing, not more cleaning cycles.
Problem 2: Banding (Horizontal Lines in Print)
Symptoms: Horizontal lines or stripes across the print. Lines may be white (no ink) or vary in density. Banding is most visible in solid color areas.
Root causes and fixes:
Clogged Nozzles (80% of banding cases)
Run a nozzle check. If any channels show missing lines, run 1-3 cleaning cycles. Do not exceed 3 cycles per session. If 3 cycles do not clear the pattern, the problem is mechanical (damper, capping station, or ink line), not a clog that more cleaning will fix.
Dirty Encoder Strip (15% of banding cases)
The encoder strip is a thin transparent strip that tells the printhead carriage its exact position. Ink mist and dust accumulate on it, causing the printer to misplace ink droplets. Clean the encoder strip weekly with a lint-free cloth lightly dampened with distilled water. Never use alcohol or cleaning solution on the encoder strip.
Incorrect RIP Settings (5% of banding cases)
Check print resolution. For DTF, use minimum 720×1440 dpi. Lower resolutions produce visible banding. Higher resolutions (1440×1440 dpi) give better quality but print slower. Also verify the correct media profile is selected in your RIP software for your specific PET film and ink combination.
Problem 3: Poor Transfer Adhesion
Symptoms: Transfer peels off the garment after pressing. Design lifts at edges or corners. Transfer cracks or flakes after first wash.
Root causes and fixes:
| Cause | How to Verify | Fix |
|---|---|---|
| Heat press temperature too low | Use infrared thermometer on platen | Increase to 160-170 degrees Celsius (320-340 degrees Fahrenheit) |
| Press time too short | Time the actual press cycle | Increase to 15-20 seconds for DTF transfers |
| Pressure too low | Test with pressure paper | Adjust to medium-firm pressure (40-50 PSI) |
| Powder not fully melted | Check powder appearance before pressing | Powder should turn from grainy to glossy. Increase curing temp to 130-160 degrees Celsius. |
| Uneven powder application | Hold printed film to light source | Check for complete coverage. Reapply powder to thin spots. |
| Fabric not compatible | Test on 100% cotton vs blend | DTF works on cotton, polyester, and blends. Test nylon separately. |
Poor adhesion is a heat press problem 70% of the time, not a printer problem. Before adjusting printer settings, verify your heat press reaches and maintains the target temperature using an infrared thermometer. Many heat presses have a 5-15 degree temperature variance between the displayed temperature and the actual platen temperature.
Problem 4: Ink Bleeding or Feathering
Symptoms: Ink spreads beyond design edges. Fine details blur. Text edges look fuzzy.
Root causes and fixes:
Excess ink on the PET film causes bleeding. Reduce ink limit in RIP software by 10-15%. Check the ICC profile matches your ink and film combination. Printing on the wrong side of the film causes severe bleeding: the coated (matte) side must face up, not the glossy side. Verify film orientation by feeling both sides. The coated side feels slightly rougher or tackier.
High humidity (above 70% RH) also causes ink bleeding because the PET film absorbs moisture from the air. Maintain production environment at 40-60% relative humidity.
Problem 5: Colors Look Wrong or Shifted
Symptoms: Printed colors do not match the design file. Colors appear too red, too blue, or washed out.
Root causes and fixes:
Check in this order:
- Film orientation: Printing on the wrong side produces dull, washed-out results. The coated side faces up.
- Clogged nozzles: One partially clogged CMYK channel shifts the entire color balance. Run a nozzle check across all channels.
- ICC profile: Ensure your RIP software uses the correct color profile for your ink brand and film type. Wrong profiles produce color casts.
- Ink expiration: DTF ink degrades after 12-18 months. Check manufacture dates on all ink bottles. Use first-in, first-out rotation.
- RIP software settings: Verify color management is enabled and monitor calibration matches the output profile.
Problem 6: Film Feeding Problems
Symptoms: Film skews during printing. Prints are misaligned. Film wrinkles or jams.
Root causes and fixes:
Static Electricity
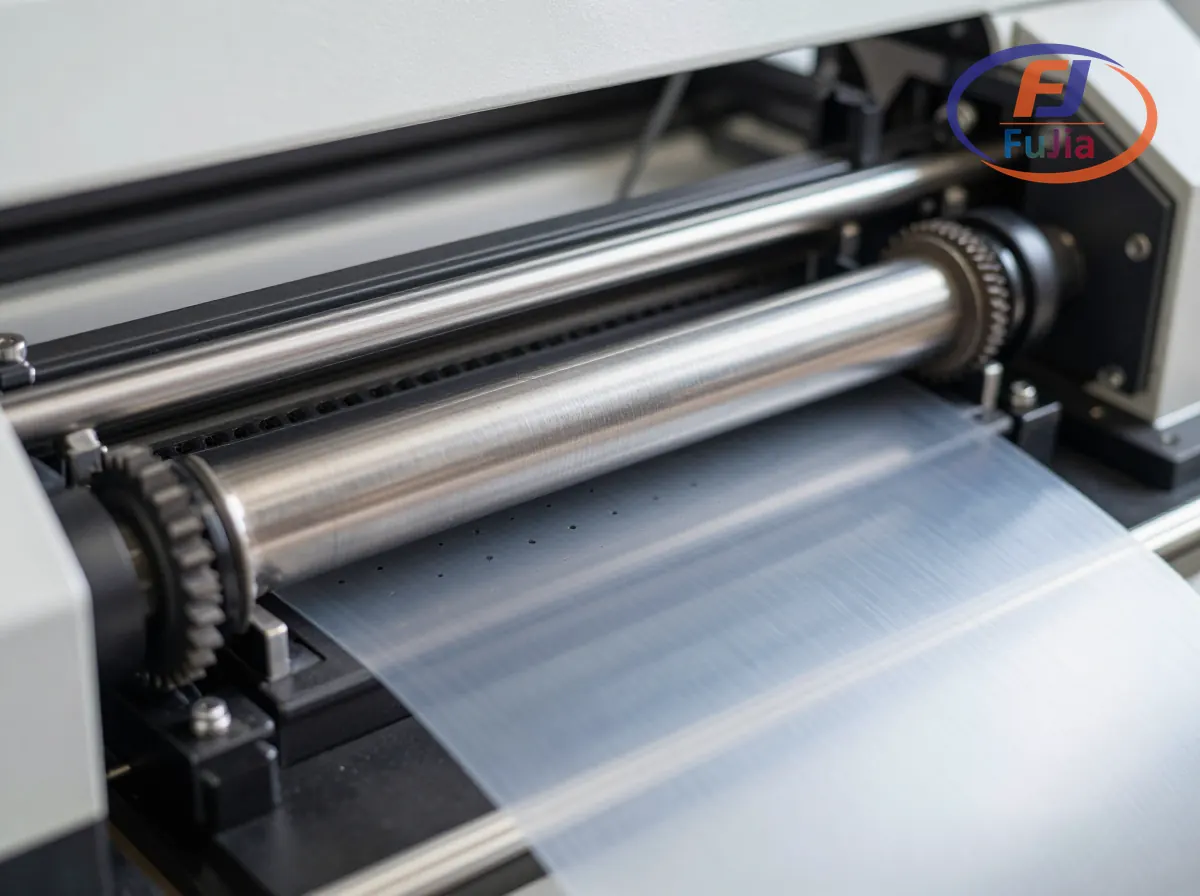
Static buildup causes film to stick to the printhead or curl at edges. Install anti-static bars above the film path. Increase room humidity to 50-60% RH. Fujia Print DTF printers use 2mm suction holes with a powerful fan system and imported adjustable press wheels that reduce static and prevent ink splash.
Pinch Roller Tension
Uneven pinch roller pressure causes film to skew. Check that all rollers apply equal pressure. Clean pinch rollers weekly to remove ink residue that causes uneven grip.
Film Quality
Low-quality film with inconsistent thickness or curl causes feeding problems. Use cold peel film for manual operations and hot peel film for automated shaker systems. Store film flat in a climate-controlled environment.
Problem 7: Powder Application Issues
Symptoms: Powder clumps on film. Uneven powder coverage. Powder does not melt during curing.
Root causes and fixes:
Powder absorbs moisture above 70% RH, forming clumps that apply unevenly. Store powder in sealed containers with desiccant packets. For automated shaker systems, check the powder hopper for moisture contamination weekly. The curing temperature must reach 130-160 degrees Celsius for the hot-melt adhesive (TPU) to fully melt and bond with the ink layer. Inkjet printing research shows that consistent thermal profiles during curing are critical for achieving uniform adhesion across the transfer.
Problem 8: Printhead Strikes or Scratches
Symptoms: Printhead crashes into film or media. Horizontal scratches appear on prints. Printhead positioning errors on the diagnostic panel.
Root causes and fixes:
Media buckling or curl lifts the film into the printhead path. Lower the printhead height adjustment if your printer allows it. Use the anti-collision bumper feature: Fujia Print DTF printers include carriage bracket bumpers that trigger instant shutdown on contact, preventing nozzle damage. Clean the print platen before each session to remove debris that could lift the film.
Problem 9: RIP Software Errors
Symptoms: Printer does not receive jobs. Colors look different from preview. Print stops mid-job.
Root causes and fixes:
Verify the correct printer driver is selected in RIP software (Maintop, Photoprint, Flexi, or RIIN). Check USB or network connection stability. Restart both RIP software and printer if communication fails. Ensure the ICC profile matches your current ink and film batch. Update RIP software to the latest version when manufacturer updates are available.
Problem 10: White Ink Circulation System Not Working
Symptoms: White ink clogs recur despite regular maintenance. Circulation pump is silent during standby mode. Ink in white lines appears settled or separated.
Root causes and fixes:
The circulation pump may be disabled, clogged, or malfunctioning. On printers with manual systems, check that the circulation timer is enabled. On Fujia Print DTF printers, the auto power-off circulation system runs at scheduled intervals during standby. If the system is not running, check the mainboard diagnostic panel for error codes. The most common cause of circulation failure is a kinked ink tube or clogged filter in the circulation loop.
A Kenya print workshop resolved recurring white ink clogs by upgrading to the Fujia Print A1 DTF 2-Head with automatic circulation, reducing waste ink by 40% and eliminating Monday morning clogs over a 6-month period. Printers without automatic circulation require manual white ink agitation every 4-6 hours during idle periods.
DTF Troubleshooting Quick Reference
| Problem | First Check | Most Likely Cause | Average Fix Time |
|---|---|---|---|
| White ink missing | Nozzle check | TiO2 settlement | 5-30 minutes |
| Banding | Nozzle check | Clogged nozzles | 10-30 minutes |
| Poor adhesion | Heat press temp | Low temperature | 5 minutes |
| Color shift | Film orientation | Wrong side up | 2 minutes |
| Film feeding | Static electricity | Low humidity | 15 minutes |
| Powder clumping | Humidity level | Moisture absorption | 10 minutes |
| Printhead strikes | Media flatness | Film buckling | 5 minutes |
| RIP errors | Driver connection | USB/network issue | 5 minutes |
| Circulation failure | Pump status | Kinked tube | 15 minutes |
| Repeated clogs | Damper condition | Particle deposition | 10-15 minutes |
Why does my DTF printer keep clogging?
DTF printers clog most frequently because of white ink settling. White ink contains titanium dioxide (TiO2) pigment with a density of 4.2 g/cm3, more than four times denser than water. Without continuous circulation, TiO2 particles sink through the ink carrier and settle in dampers, ink lines, and printhead channels within 48-72 hours. Other common causes include low humidity (below 30% RH causes nozzle drying), expired ink (degraded dispersant allows faster settling), dirty capping stations (prevents proper printhead sealing during idle), and clogged dampers (restricts ink flow). To stop recurring clogs: verify automatic white ink circulation is enabled, replace dampers every 3-4 months, maintain humidity at 40-60% RH, and never let the printer sit unused for more than 48 hours without printing a nozzle check or running a cleaning cycle. Fujia Print DTF printers include auto power-off circulation that keeps white ink moving during standby, reducing clog frequency by 70-80%.
How do I fix banding on my DTF printer?
Fix banding on a DTF printer by following this sequence: First, run a nozzle check pattern. If any nozzles are missing, run 1-3 cleaning cycles (maximum 3 per session). If the nozzle check is complete but banding persists, clean the encoder strip with a lint-free cloth dampened with distilled water (never alcohol). If banding continues, check RIP software settings: verify print resolution is at least 720×1440 dpi and the correct media profile is selected for your PET film and ink combination. Also inspect the printhead height: if the printhead sits too far from the film, ink droplets spread before landing, causing fuzzy edges that look like banding. Finally, check that film feeds straight through the printer without skewing, as misaligned media feed causes visible banding even with perfect nozzle performance. Most banding (80%) resolves with nozzle cleaning alone.
Why are my DTF transfers not sticking to the shirt?
DTF transfers fail to stick because of heat press problems in 70% of cases, not printer issues. The most common causes are: heat press temperature too low (verify with an infrared thermometer that the platen actually reaches 160-170 degrees Celsius or 320-340 degrees Fahrenheit), press time too short (use 15-20 seconds for DTF), insufficient pressure (adjust to medium-firm, approximately 40-50 PSI), powder not fully melted before pressing (powder should transform from grainy to glossy at 130-160 degrees Celsius), and uneven powder application (hold the printed film to a light source to check for thin spots). Less common causes include incompatible fabric (nylon may require special adhesive), old or degraded powder (check manufacture date), and insufficient ink on the film (low ink coverage produces weak adhesion). Always test new garments with a small design before running full production to verify adhesion settings.
Can I use alcohol to clean my DTF printhead?
No, never use alcohol to clean a DTF printhead. Alcohol-based cleaners cause DTF ink solvents to evaporate too quickly, worsening clogs rather than clearing them. DTF ink is water-based with specific dispersants formulated to keep pigment particles suspended. Alcohol breaks down these dispersants, causing pigment to precipitate and form permanent deposits in the printhead channels. Use only DTF-specific cleaning solution, which is formulated to dissolve dried DTF ink without damaging the printhead surface or ink chemistry. Apply cleaning solution to the capping station with a foam swab, park the printhead over the wetted capping station, and let it sit for 30 minutes to overnight depending on clog severity. For external cleaning of the nozzle plate, use a lint-free swab lightly dampened with cleaning solution. Never touch the nozzle plate with sharp tools, paper towels, or excessive pressure. Research on piezoelectric inkjet printhead clogging shows that chemical compatibility between cleaning agents and ink formulations directly affects printhead longevity.
Conclusion
DTF printer troubleshooting follows a diagnostic sequence: symptom identification, root cause isolation, targeted fix. White ink clogging and banding account for 80% of production issues. Explore Fujia Print DTF printers with automatic white ink circulation and anti-collision systems, or read our DTF printer maintenance guide for preventive care routines. For cleaning product recommendations, see our DTF printer cleaning solution guide.
Sources
- Deposited Nanoparticles Promote Air Clogging of Inkjet Printhead Nozzles – PubMed, National Library of Medicine
- Piezoelectric Inkjet Droplet Formation Dynamics – Chemical Engineering Science, ScienceDirect
- PET/PTFE Piezoelectric Printhead Design with Interchangeable Nozzles – Sensors and Actuators A, ScienceDirect
- Digital Textile Printing Market Size Report – Grand View Research
